
Everyone has a different wedding planning style. Some couples want to plan every single detail themselves, creating exactly what they want while perhaps slowly driving themselves insane. Others want to hire trained professionals to craft the feel they’re going for while taking on most of the busy work. We fall into the first group.
When you start deciding on details like colors and design, the options are endless. To end up with exactly what we wanted, I used my computer and a variety of free programs to design do-it-yourself save the dates, and I am thrilled with the results!


Looking for inspiration? While there are many ways to make save the dates at home on your computer, here’s the tutorial for our particular save the dates.
Step No. 1: Make a monogram.
Begin with a theme or design, like a monogram. When you create your own print products, there are a million different options—I found it overwhelming! I created a custom monogram from Wedding Chicks and made it the theme of the save the date.
Step No. 2: Create your save the dates and have them printed.
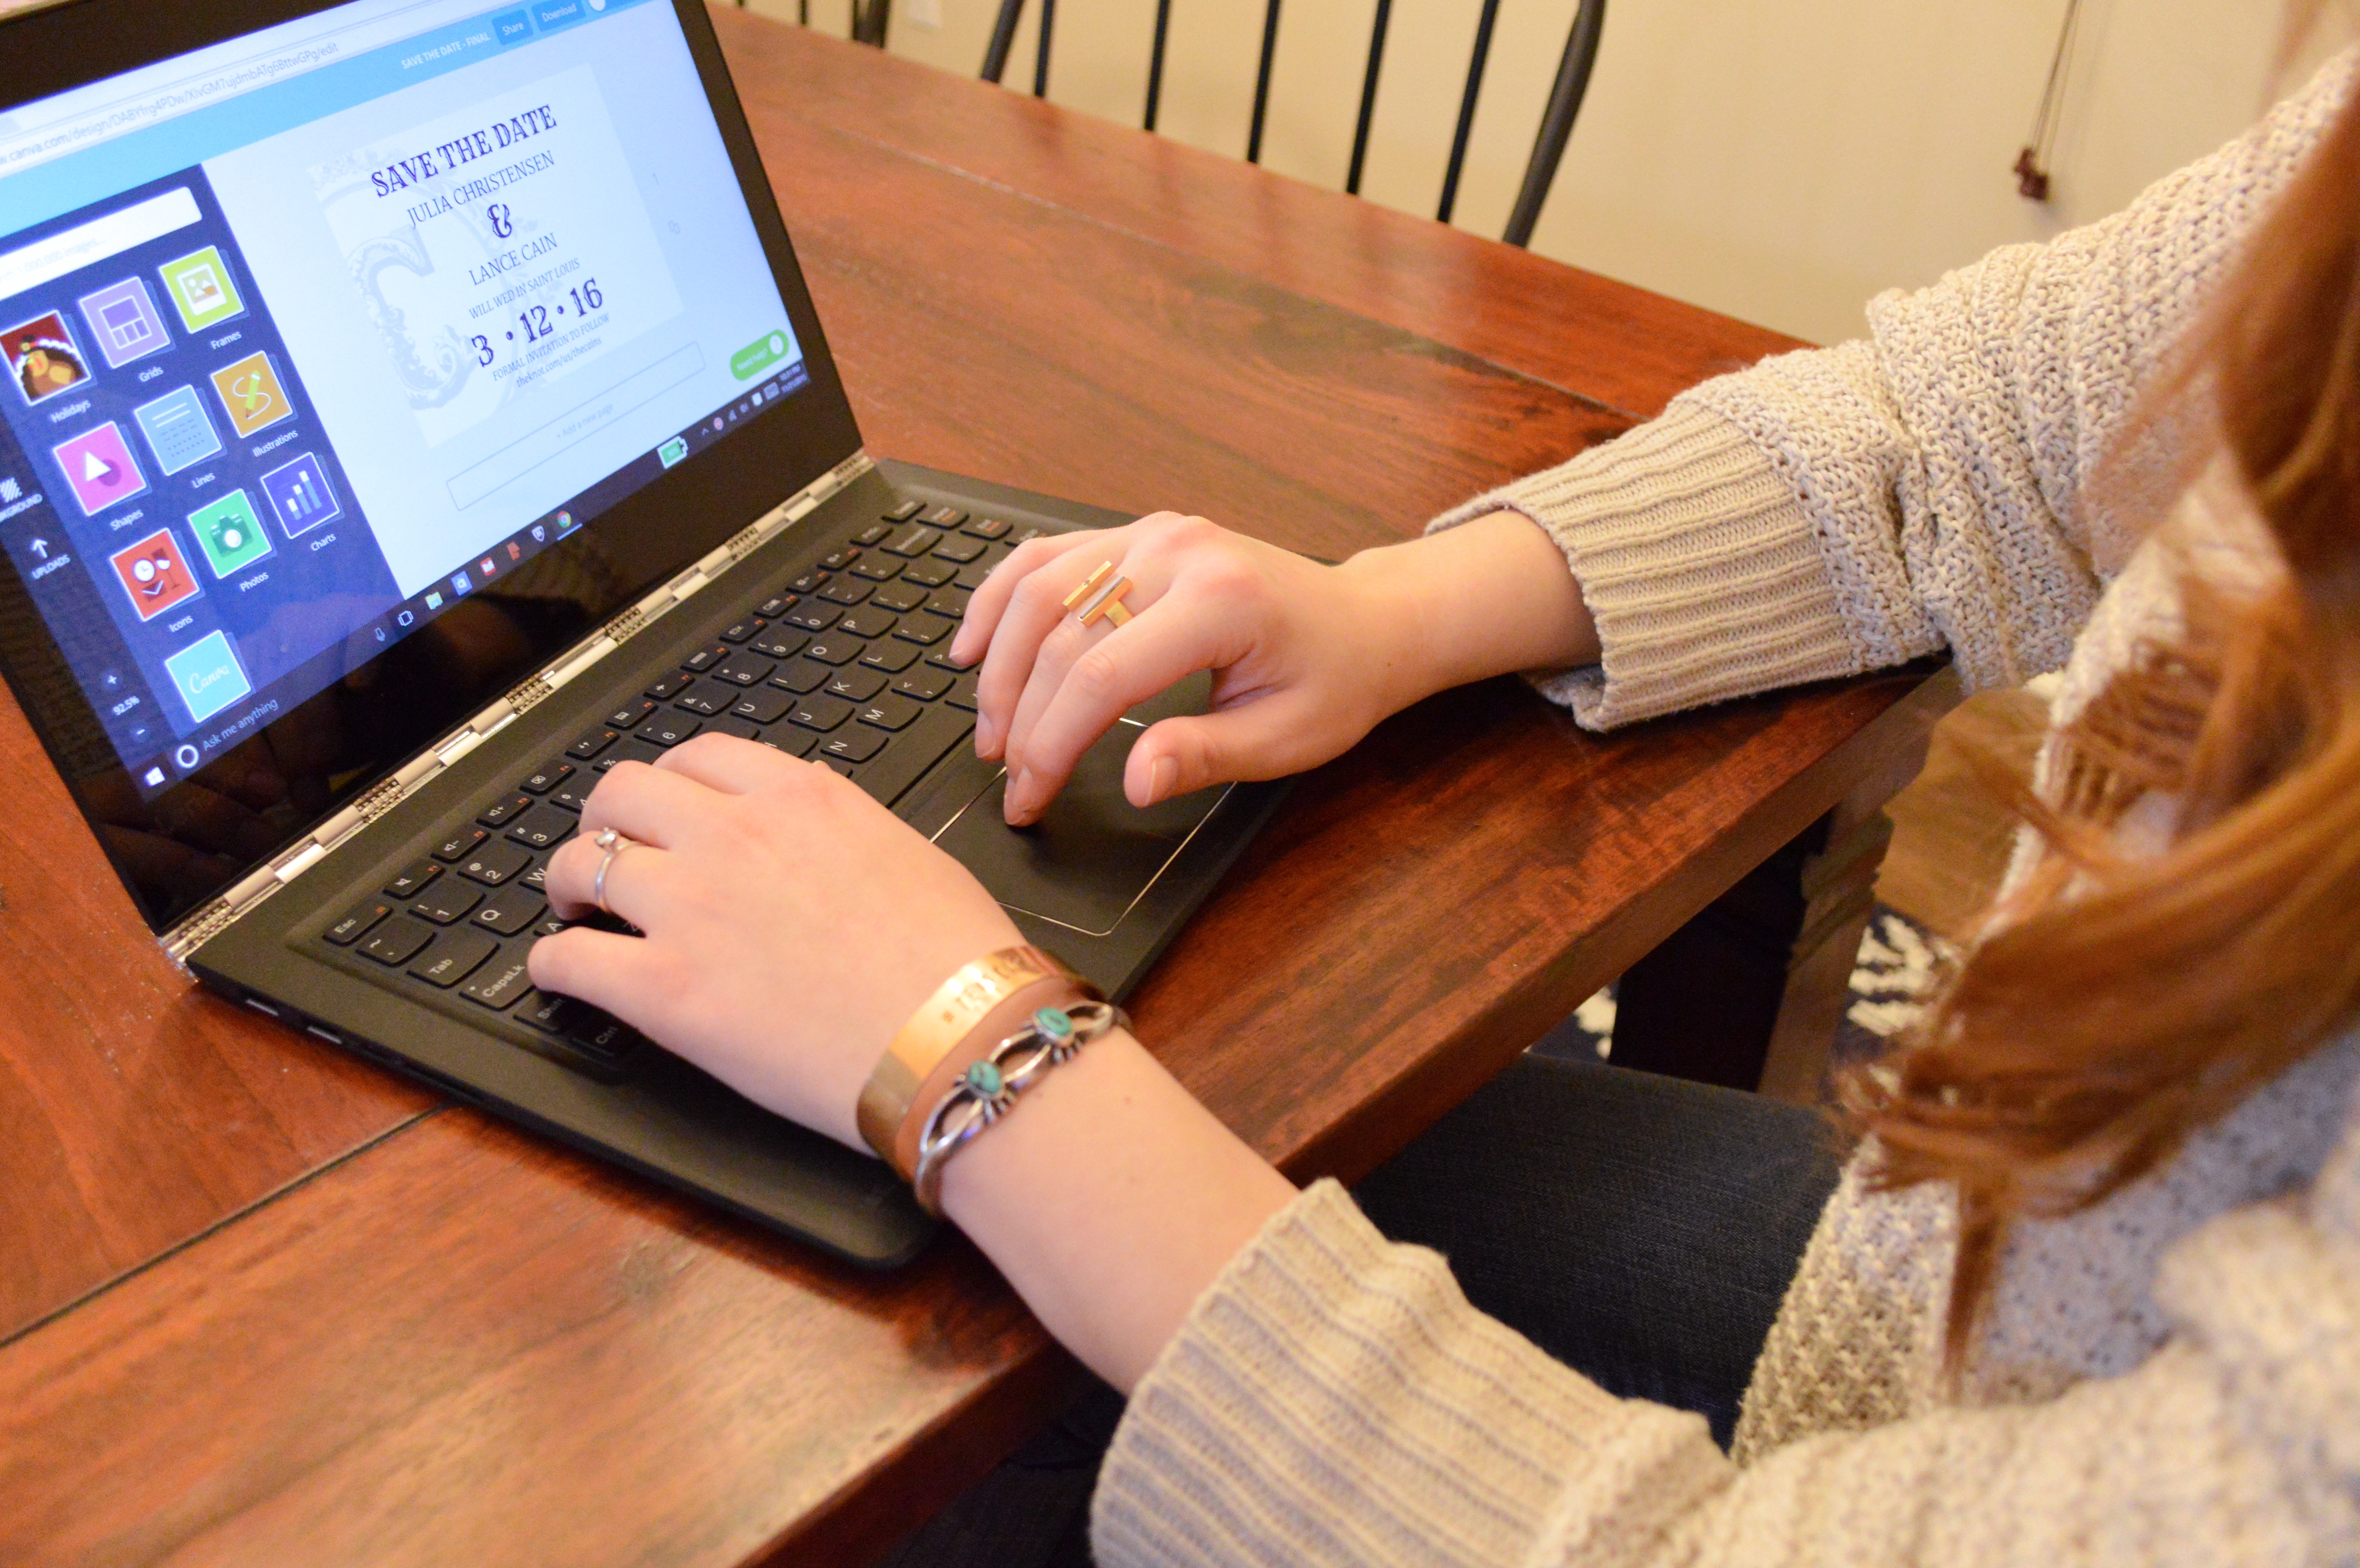
Head over to Canva to create your save the dates. You can start with your own custom dimensions so you know it will print the way you want. Check out some of your favorites to decide on style, then fill in your information. Check out Canva’s transparency tool to make backgrounds, like the monogram in our case, blend into the white space. Remember to download the finished file with crop marks and bleed to help with the printing process.
We had our save the dates professionally printed, but you could also print them at home. If you want to print them professionally, try contacting local print shops to see if they take small orders.
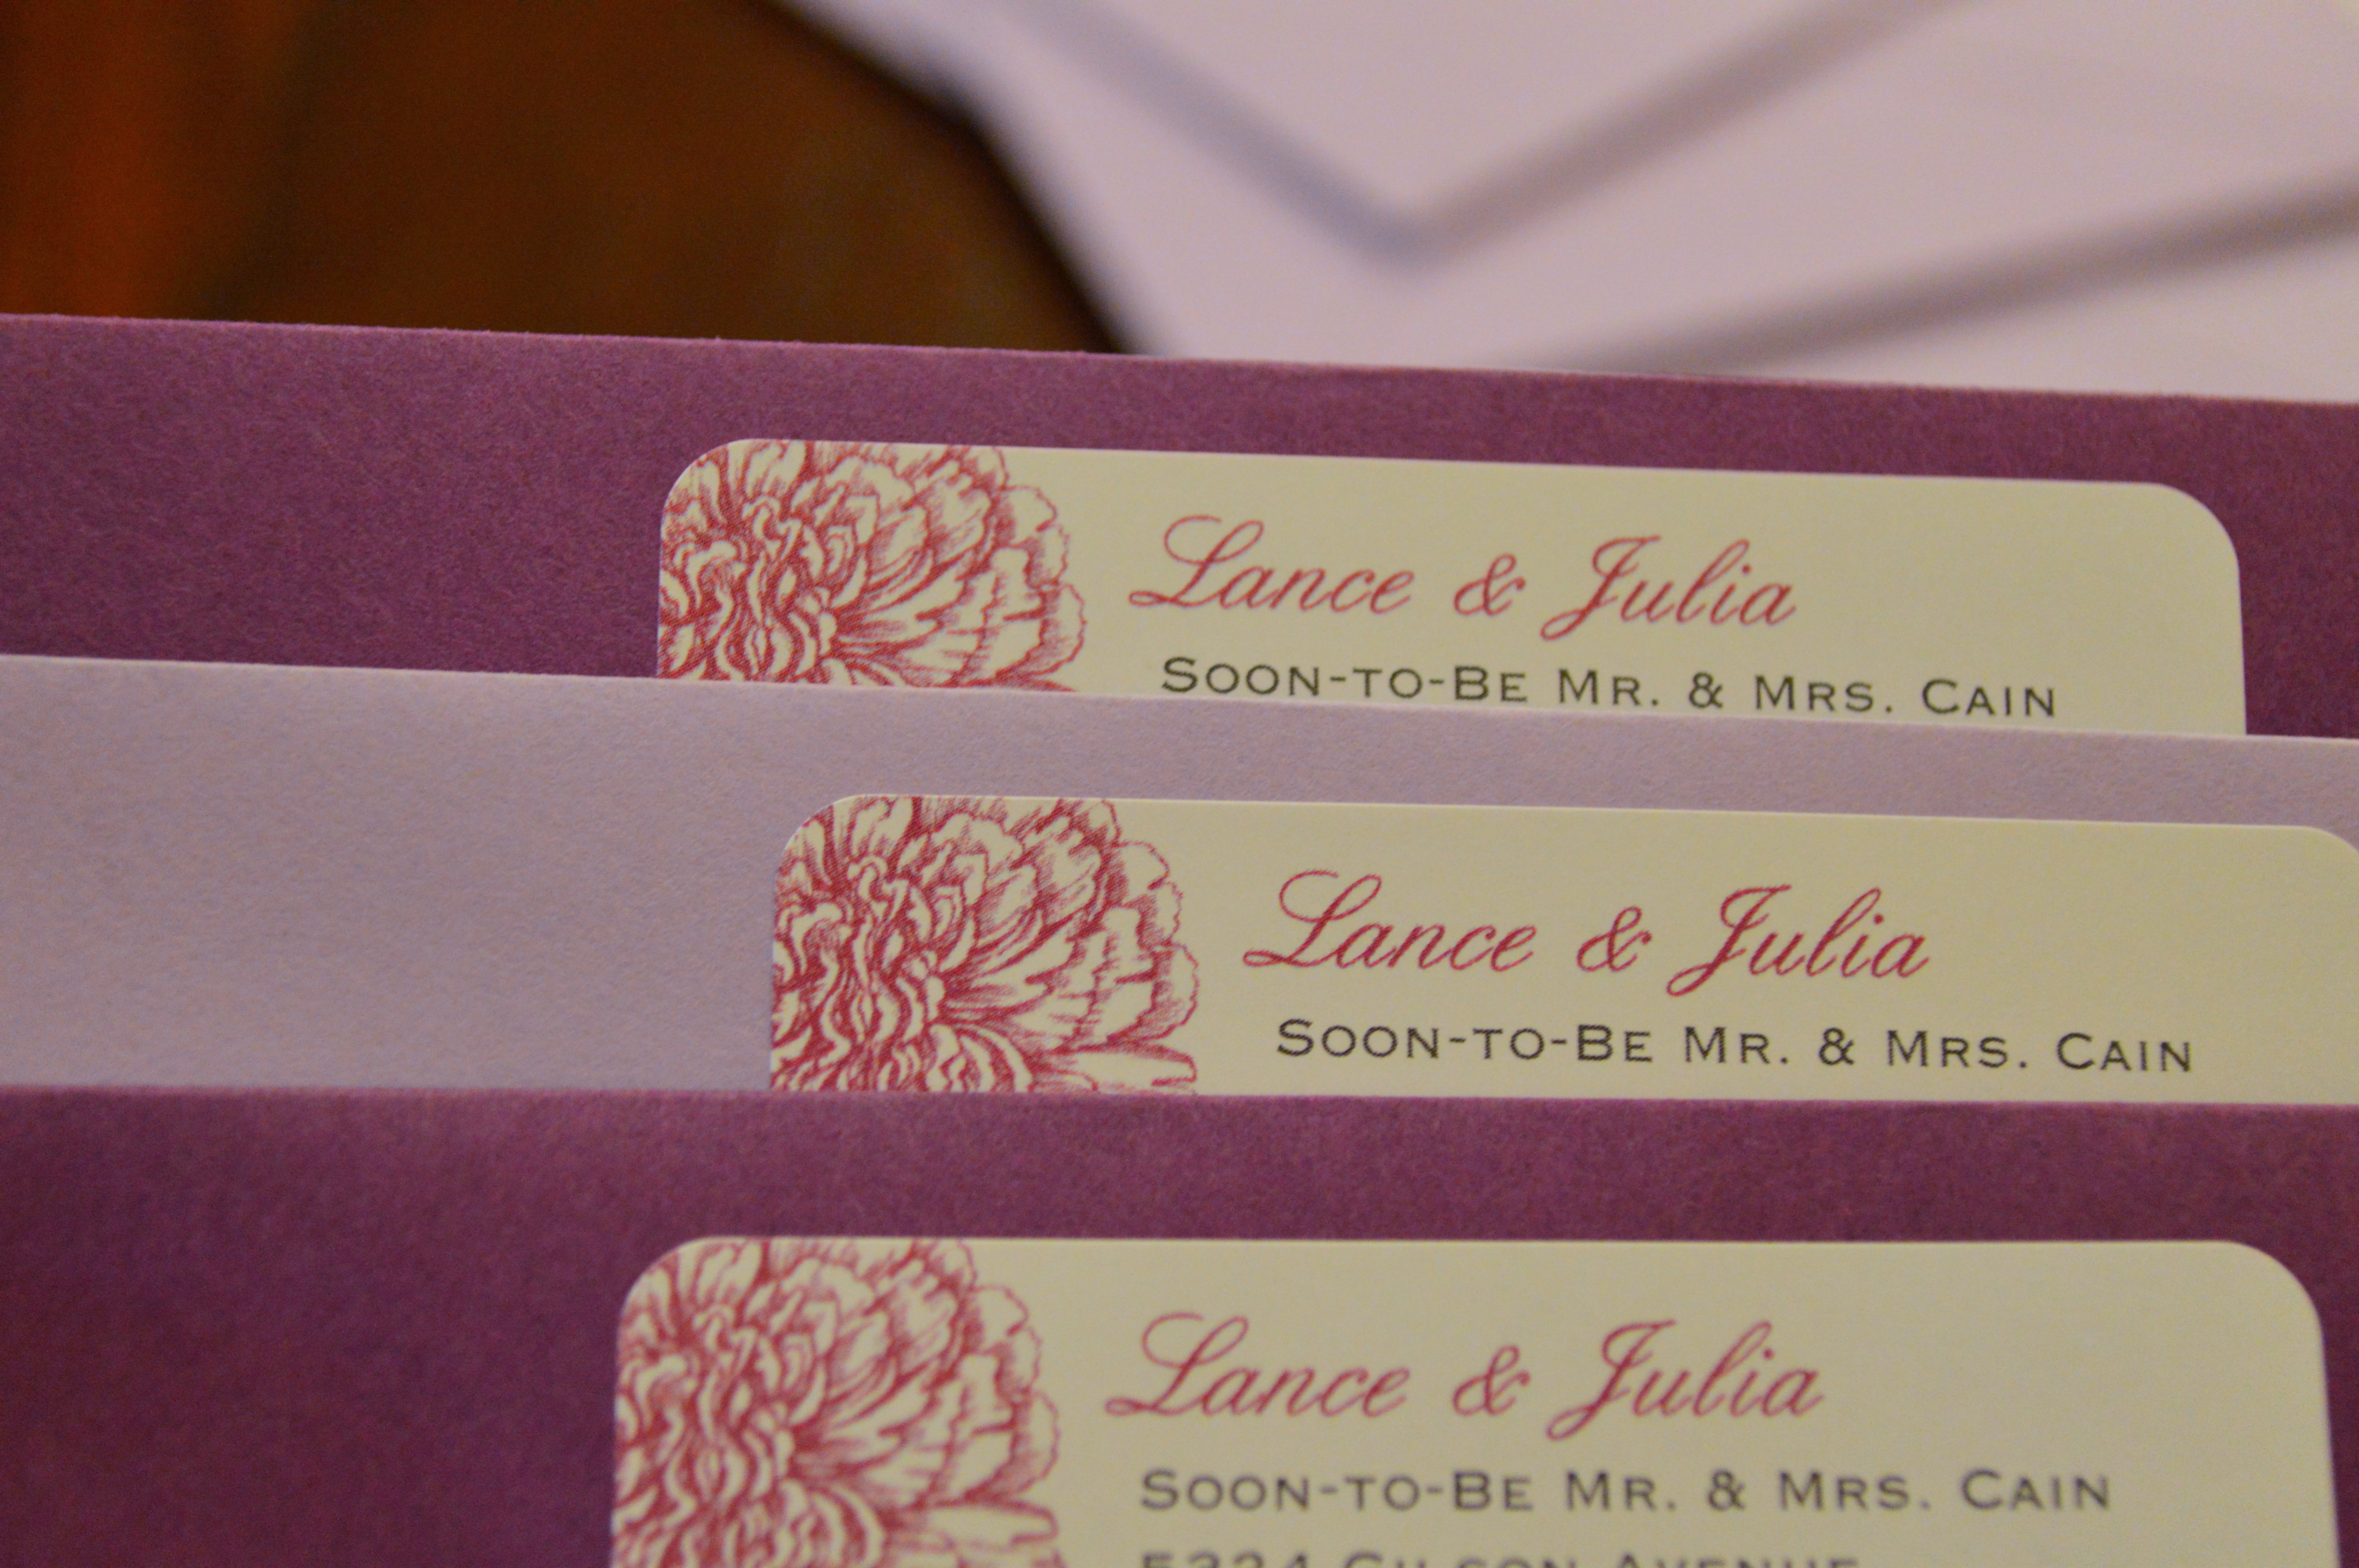
Step No. 3: Order custom return address labels.
Up next are return address labels! Head to Vistaprint and select a complementary pattern. I altered our four lines of text to read “Lance & Julia / Soon-To-Be Mr. & Mrs. Cain / Street Address / City, State, Zip” to be a bit more on-theme.
Step No. 4: Create and order mailing labels.
After realizing I could spend about twenty bucks to avoid hand-writing all the envelopes, it was the clear option. Avery offers WePrint, a service that lets you create labels and have the final product sent to your house. Upload your address list, format the labels, and order them.
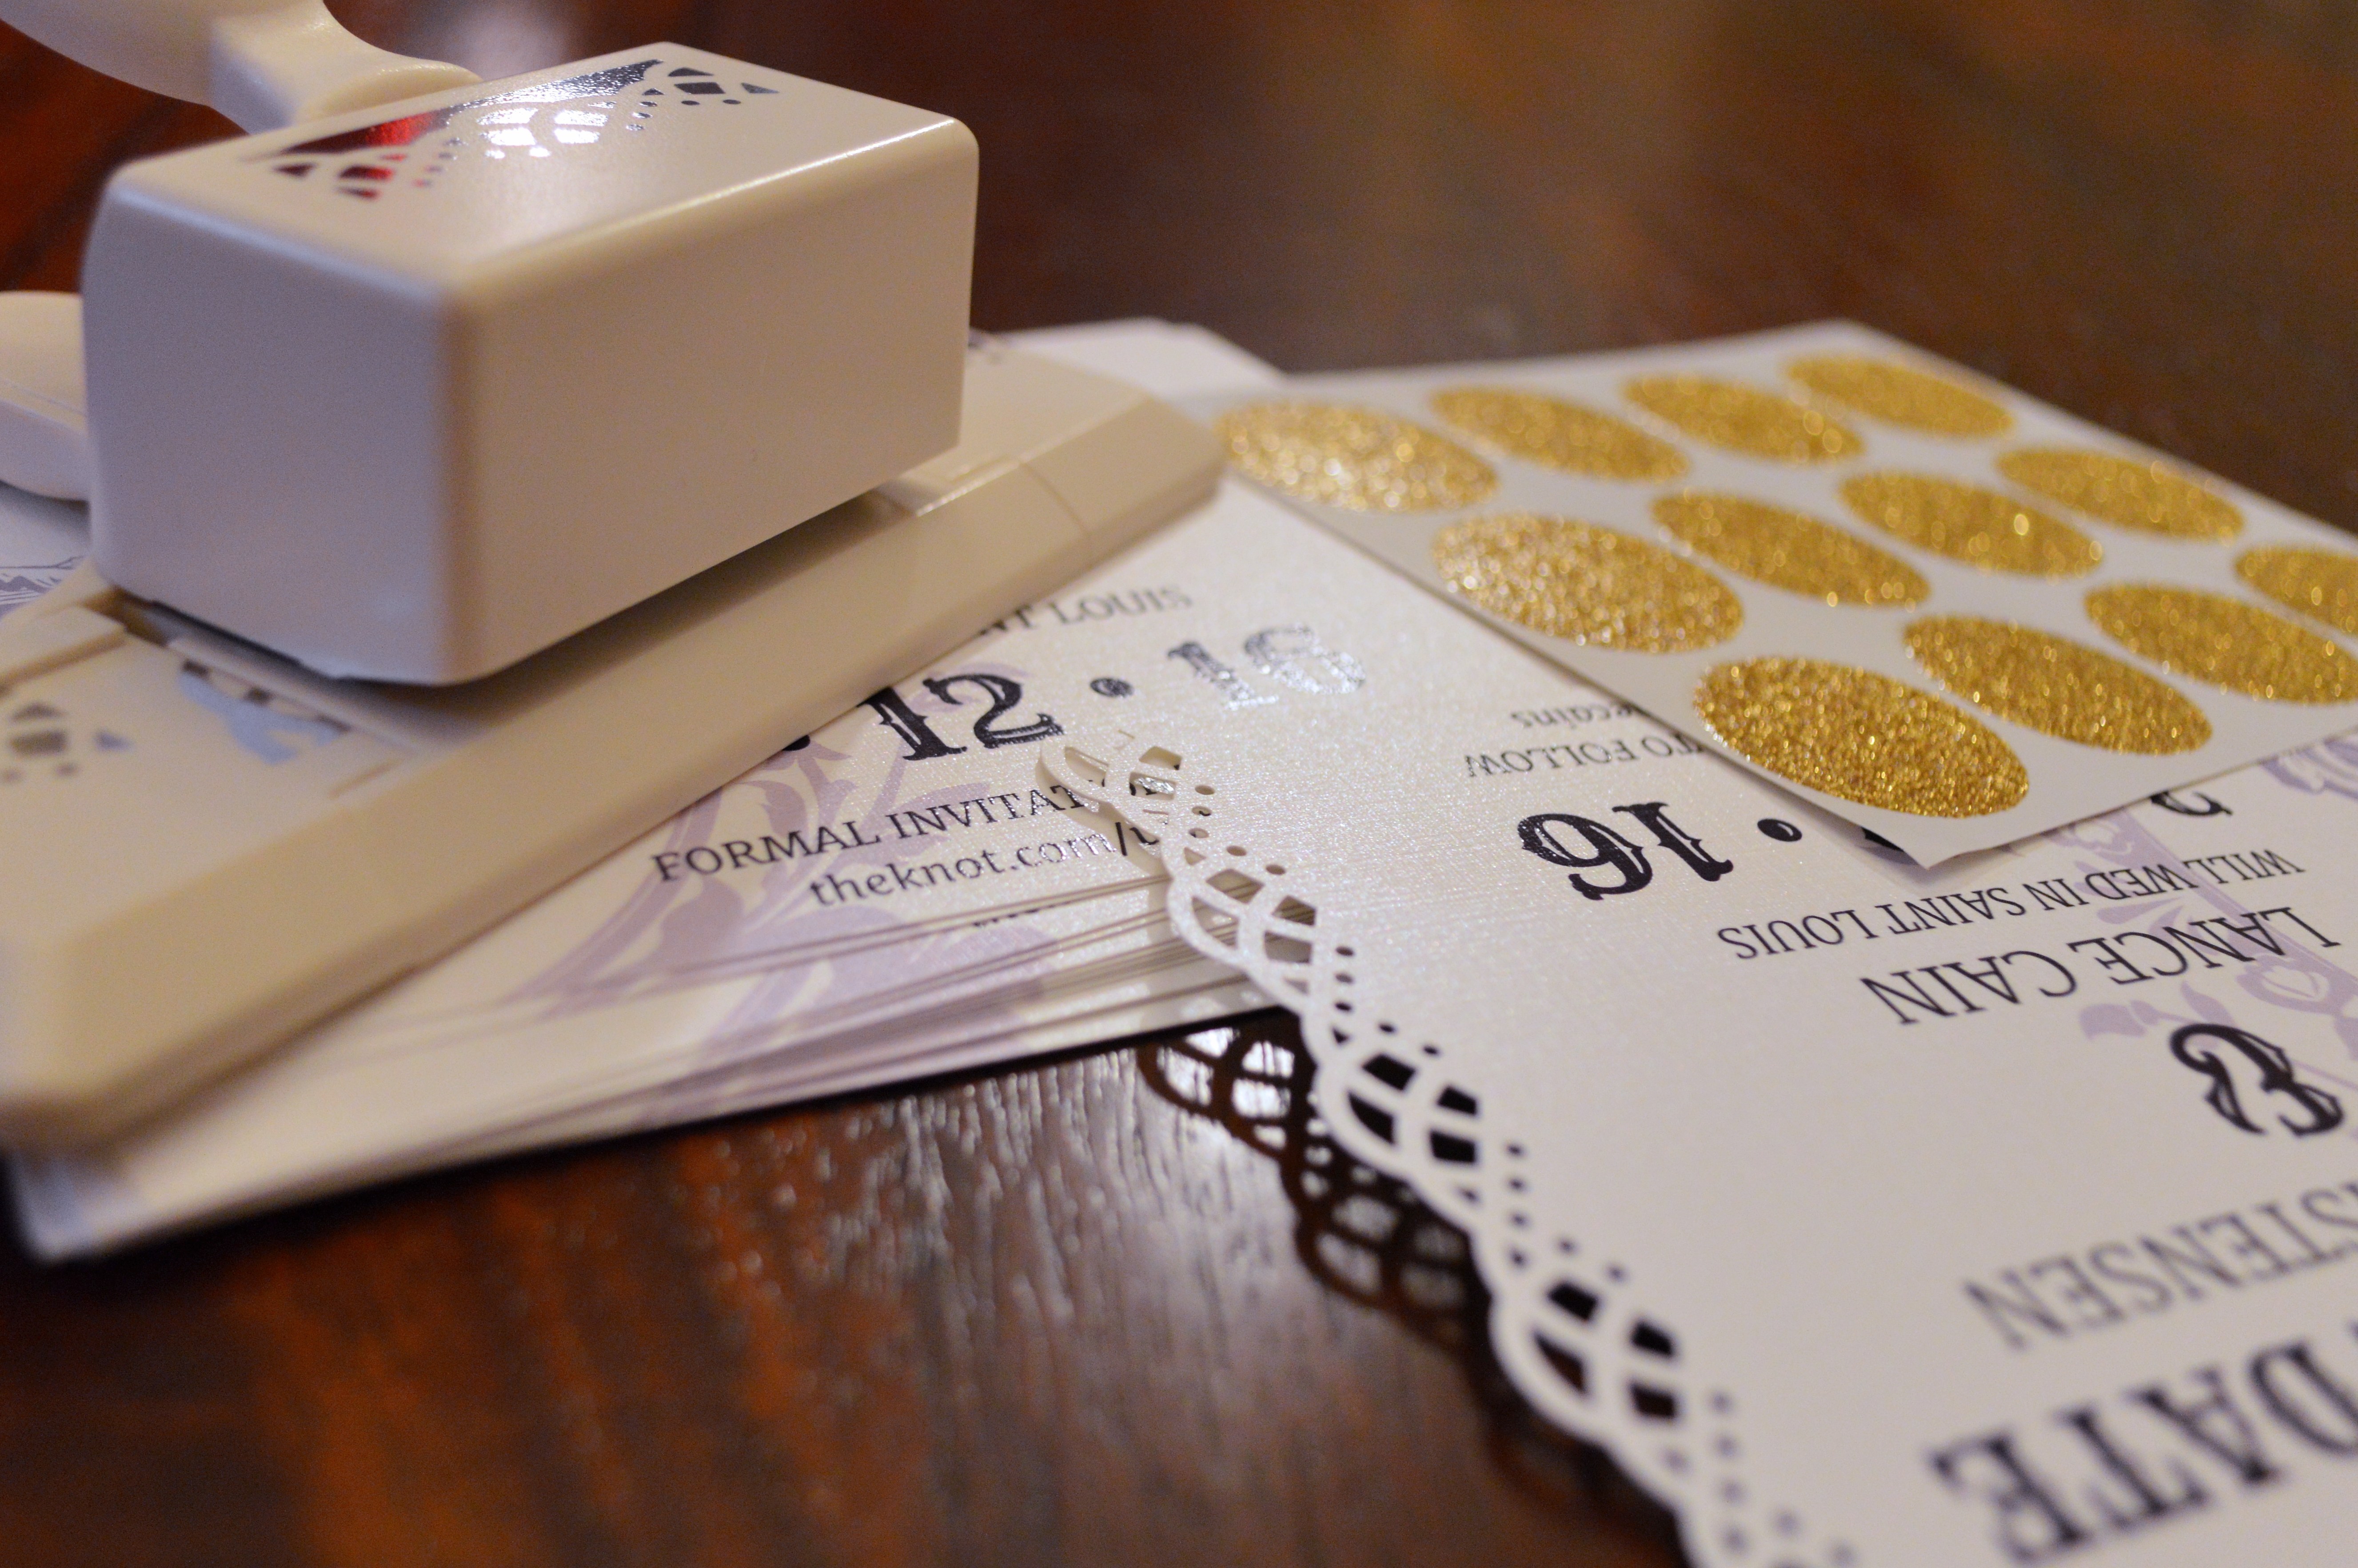
Step No. 5: Find an edge punch and customize the save the dates.
Even with a great design and lovely paper, I felt these save the dates needed a little more pizazz. I headed to Michael’s, coupon in hand, and picked up a Martha Stewart edge punch. While watching TV, I punched all the edges. Be sure to order extras; I messed up quite a few.
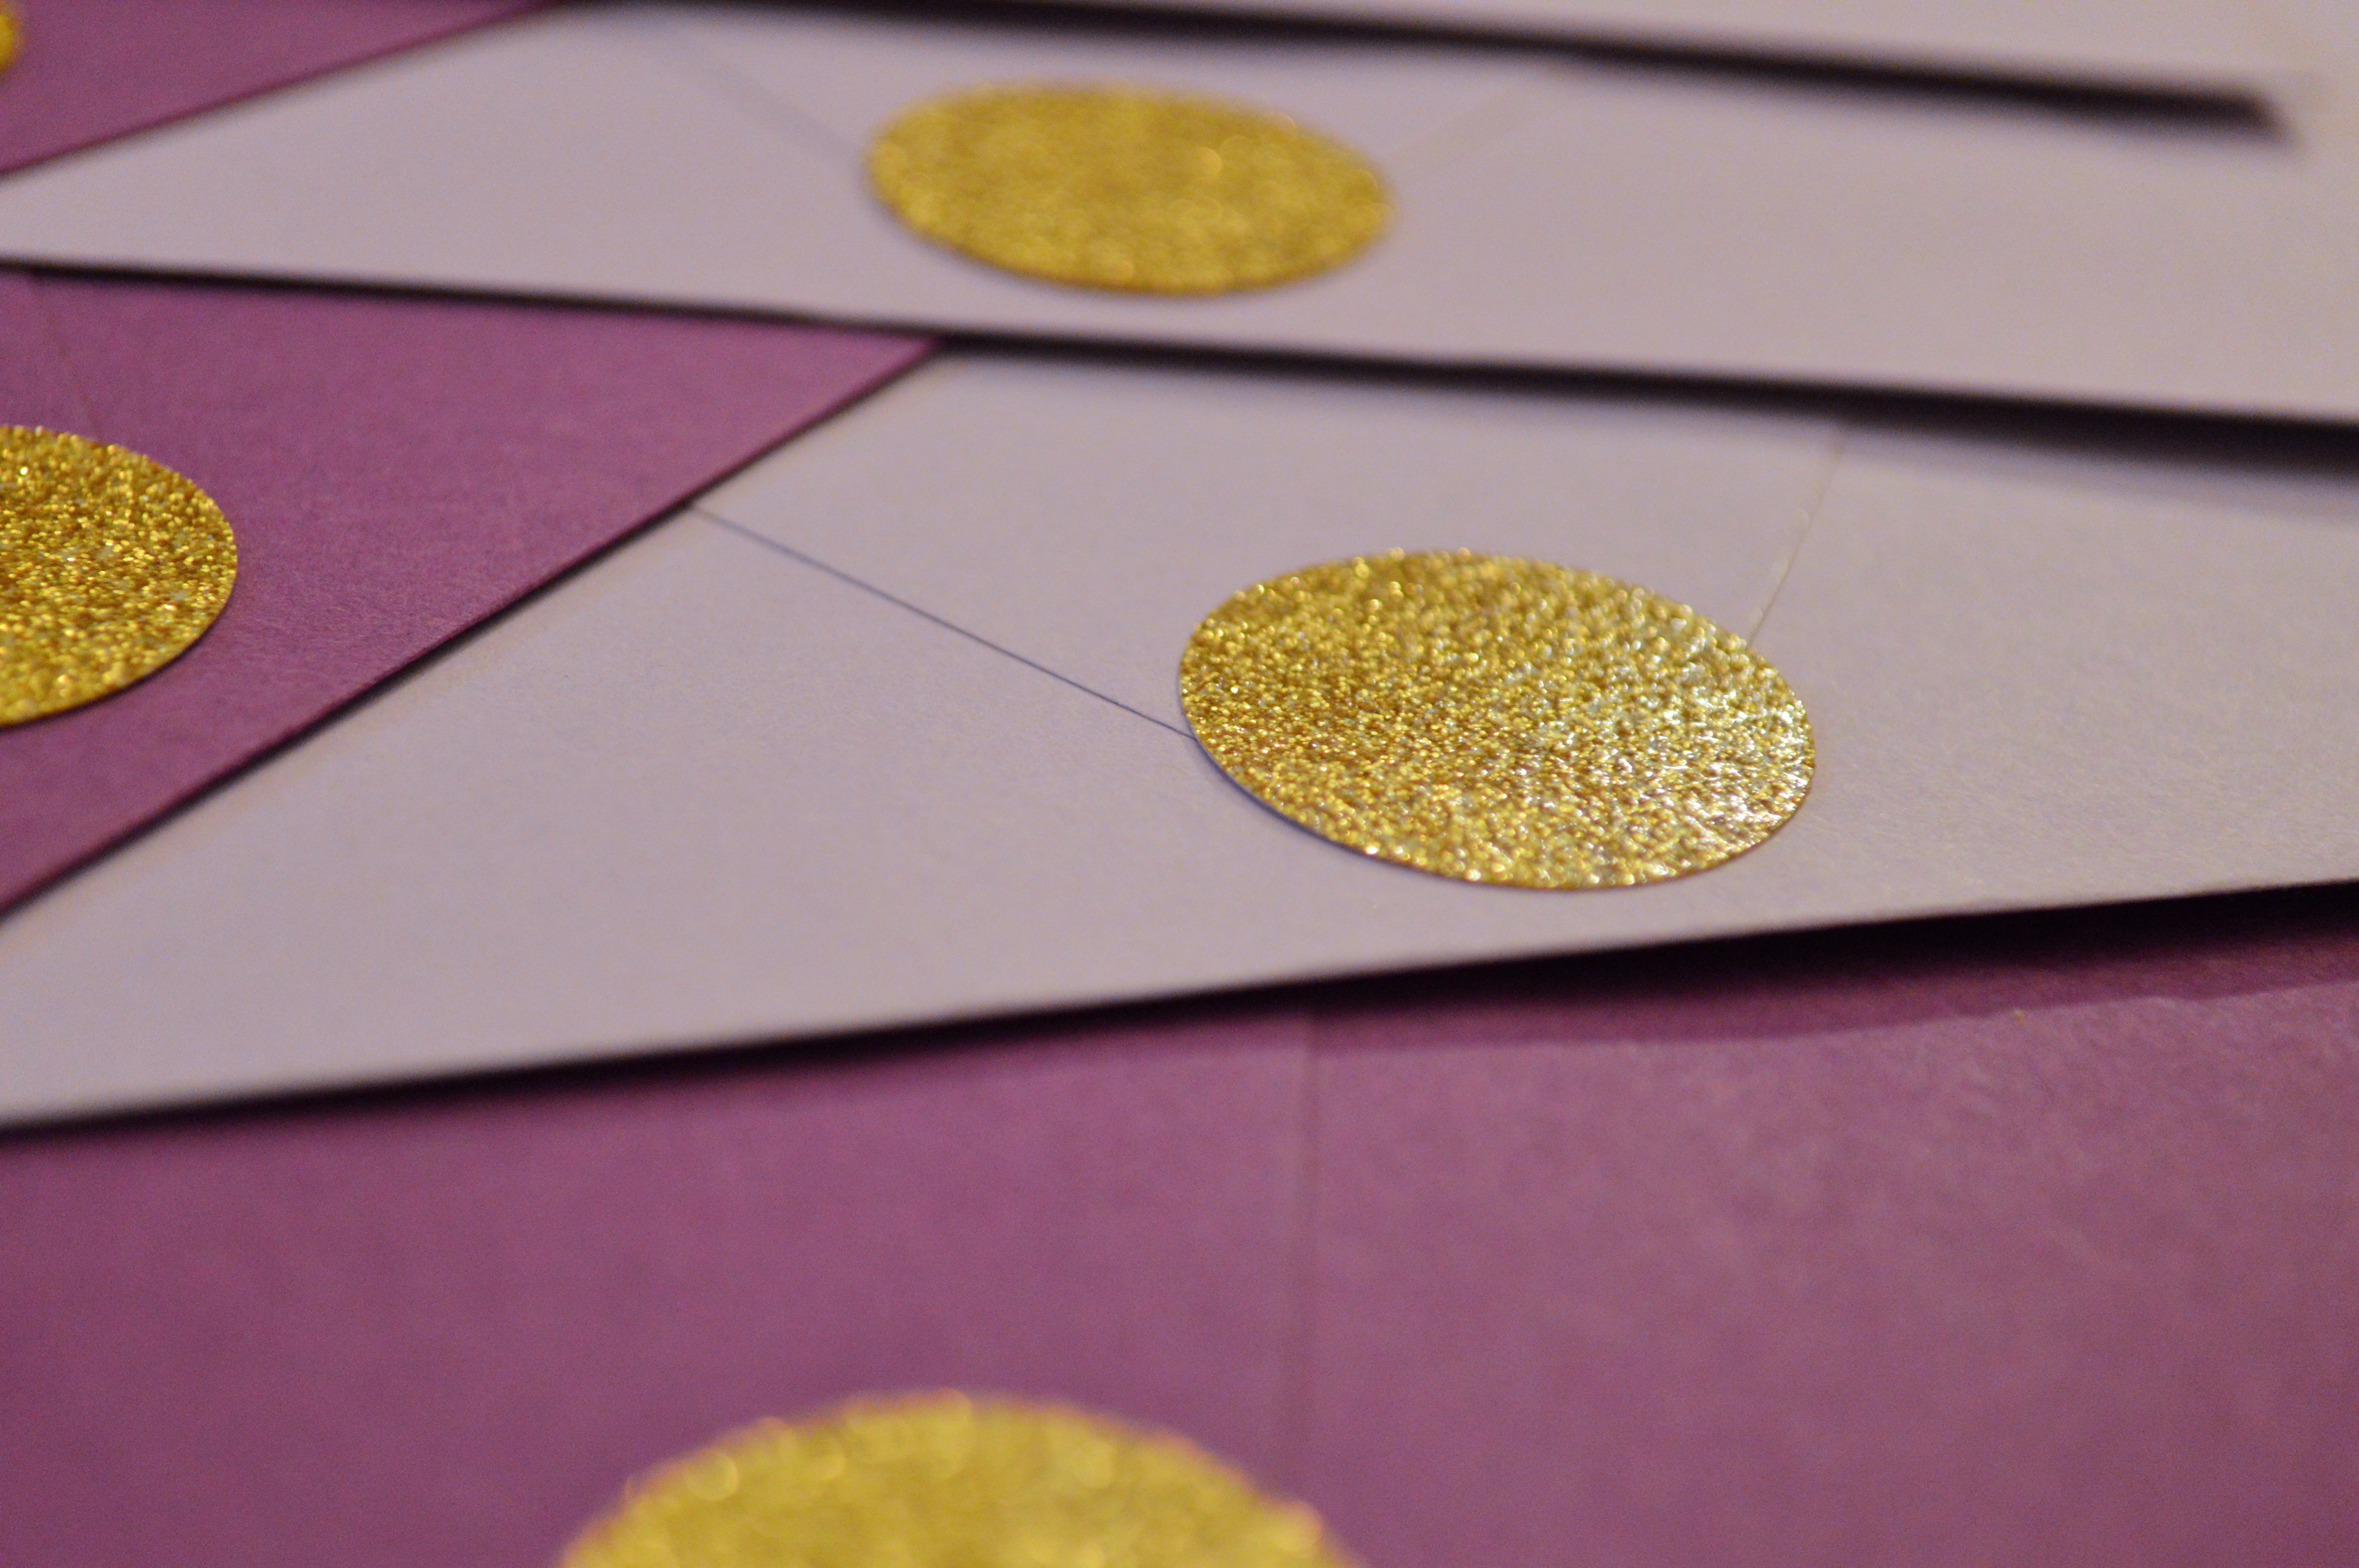
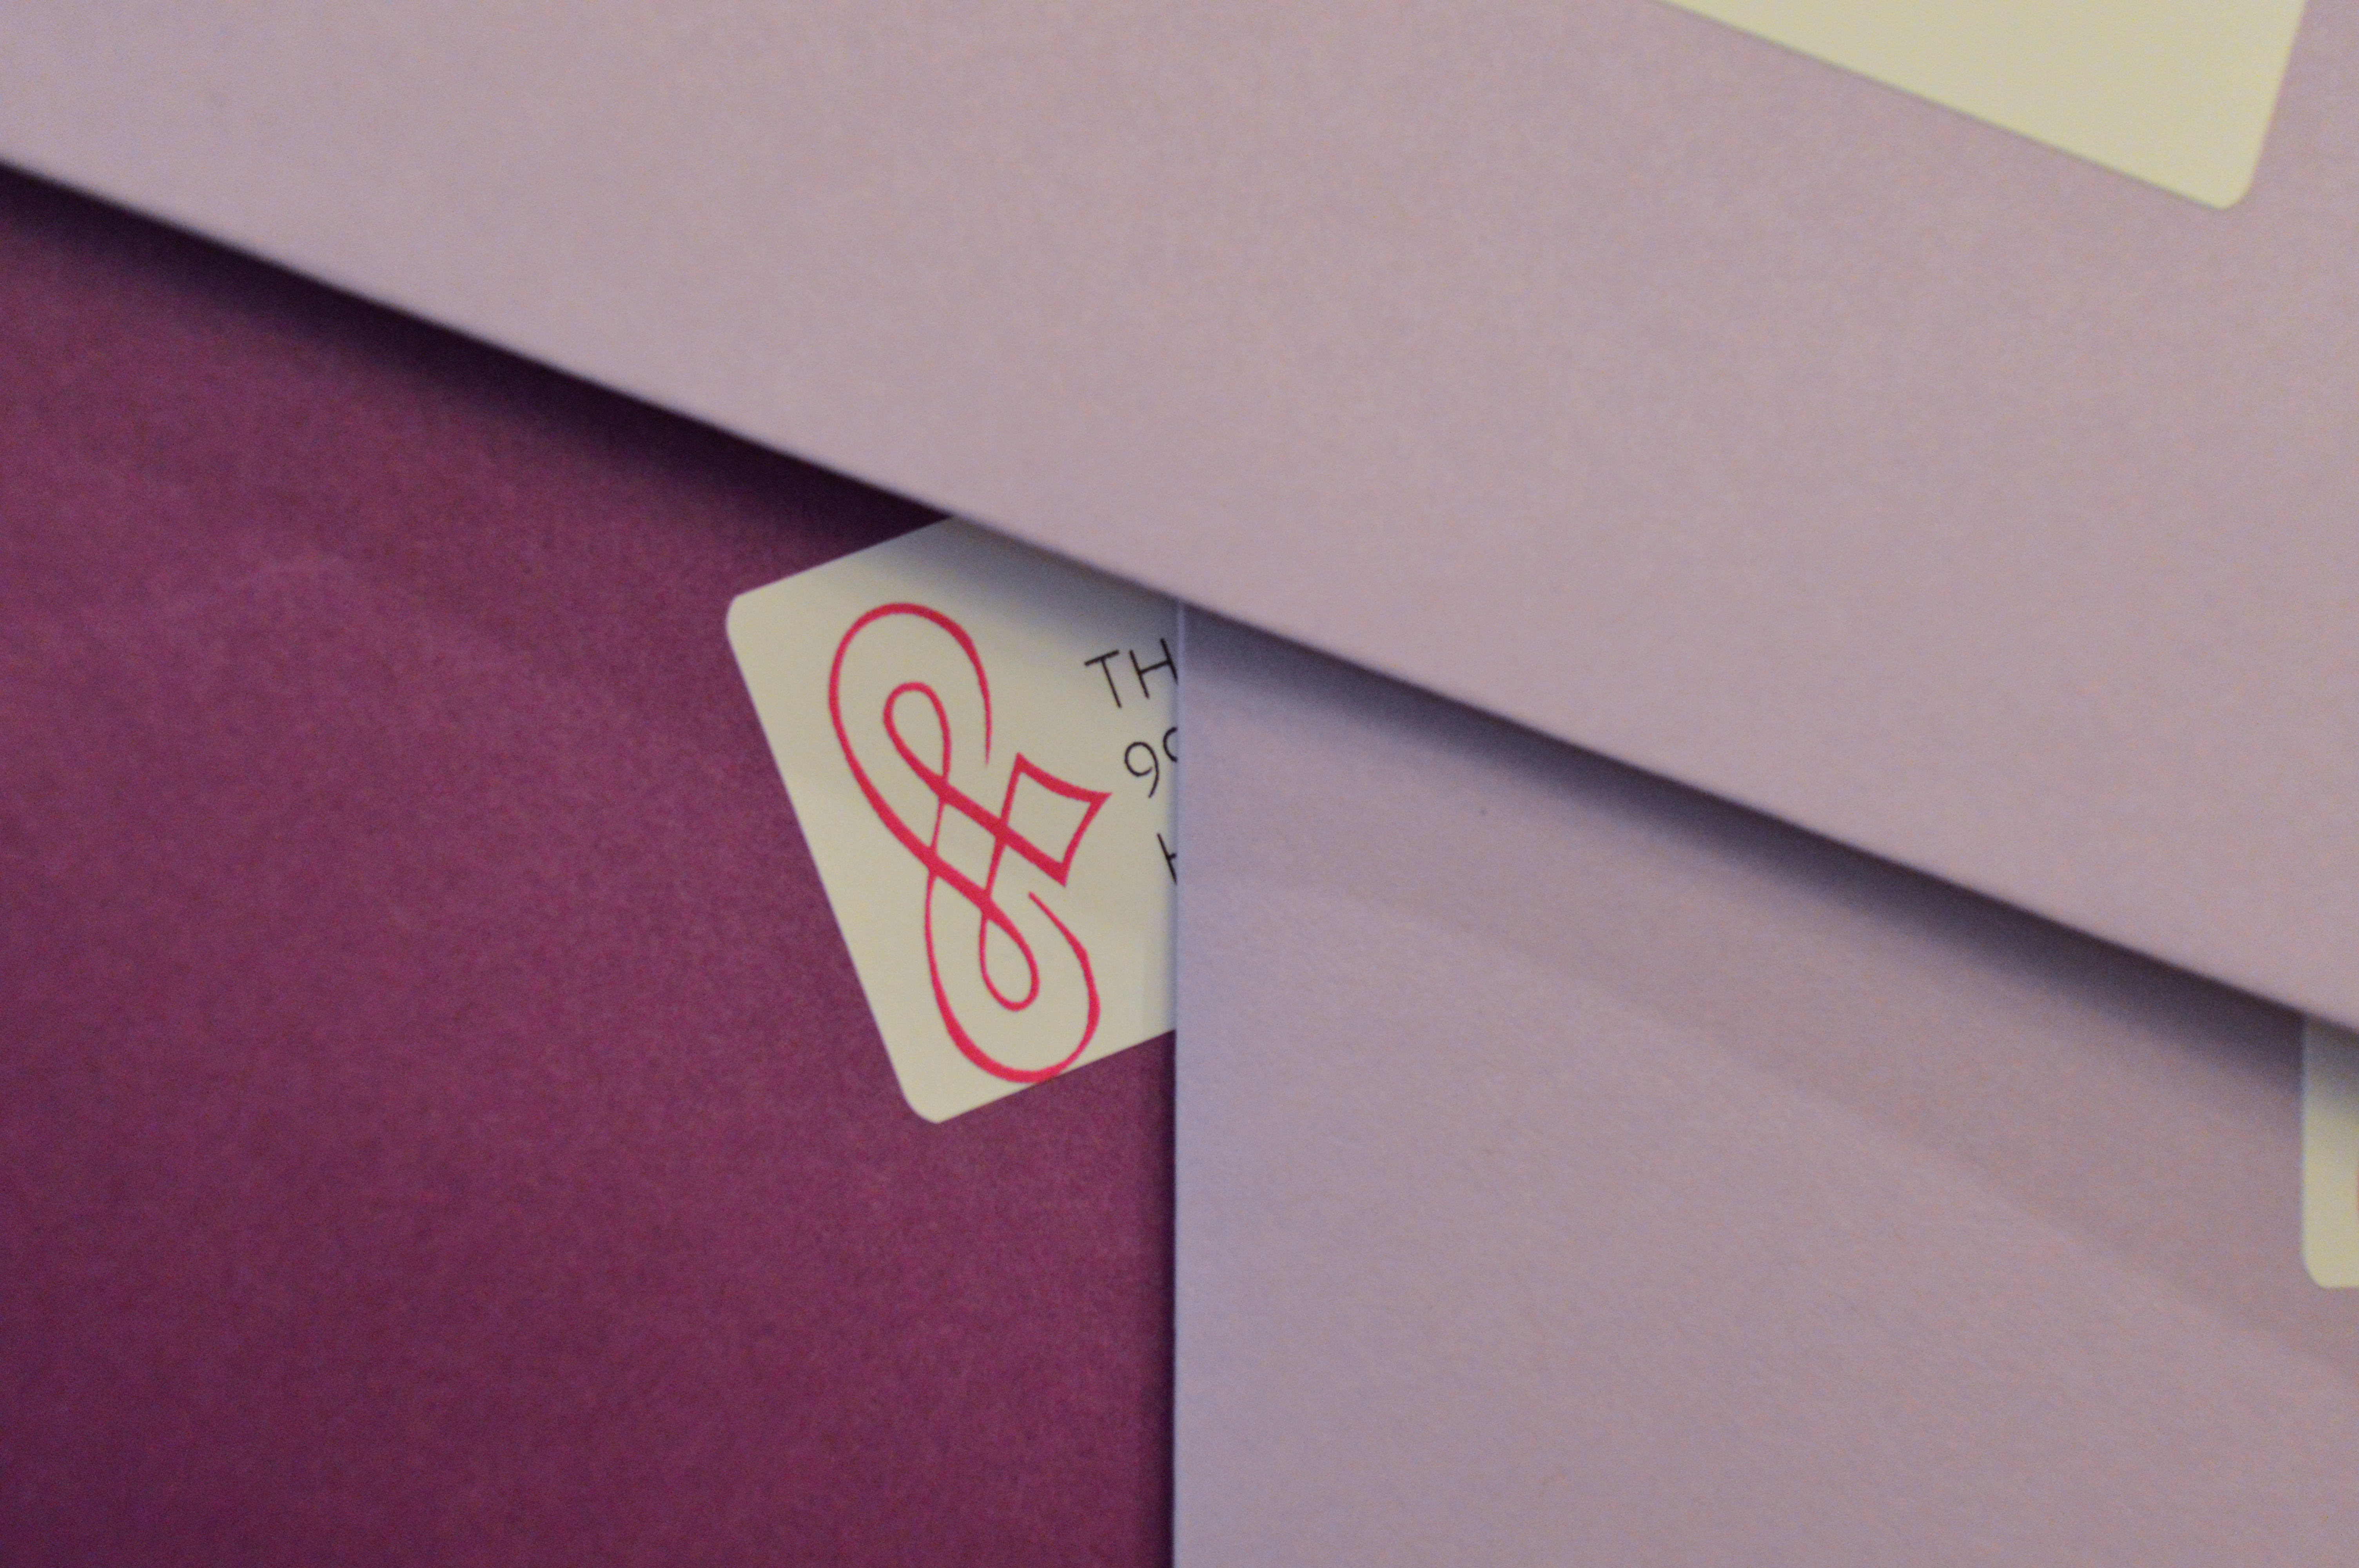
Step No. 6: Purchase envelopes, seals, and stamps.
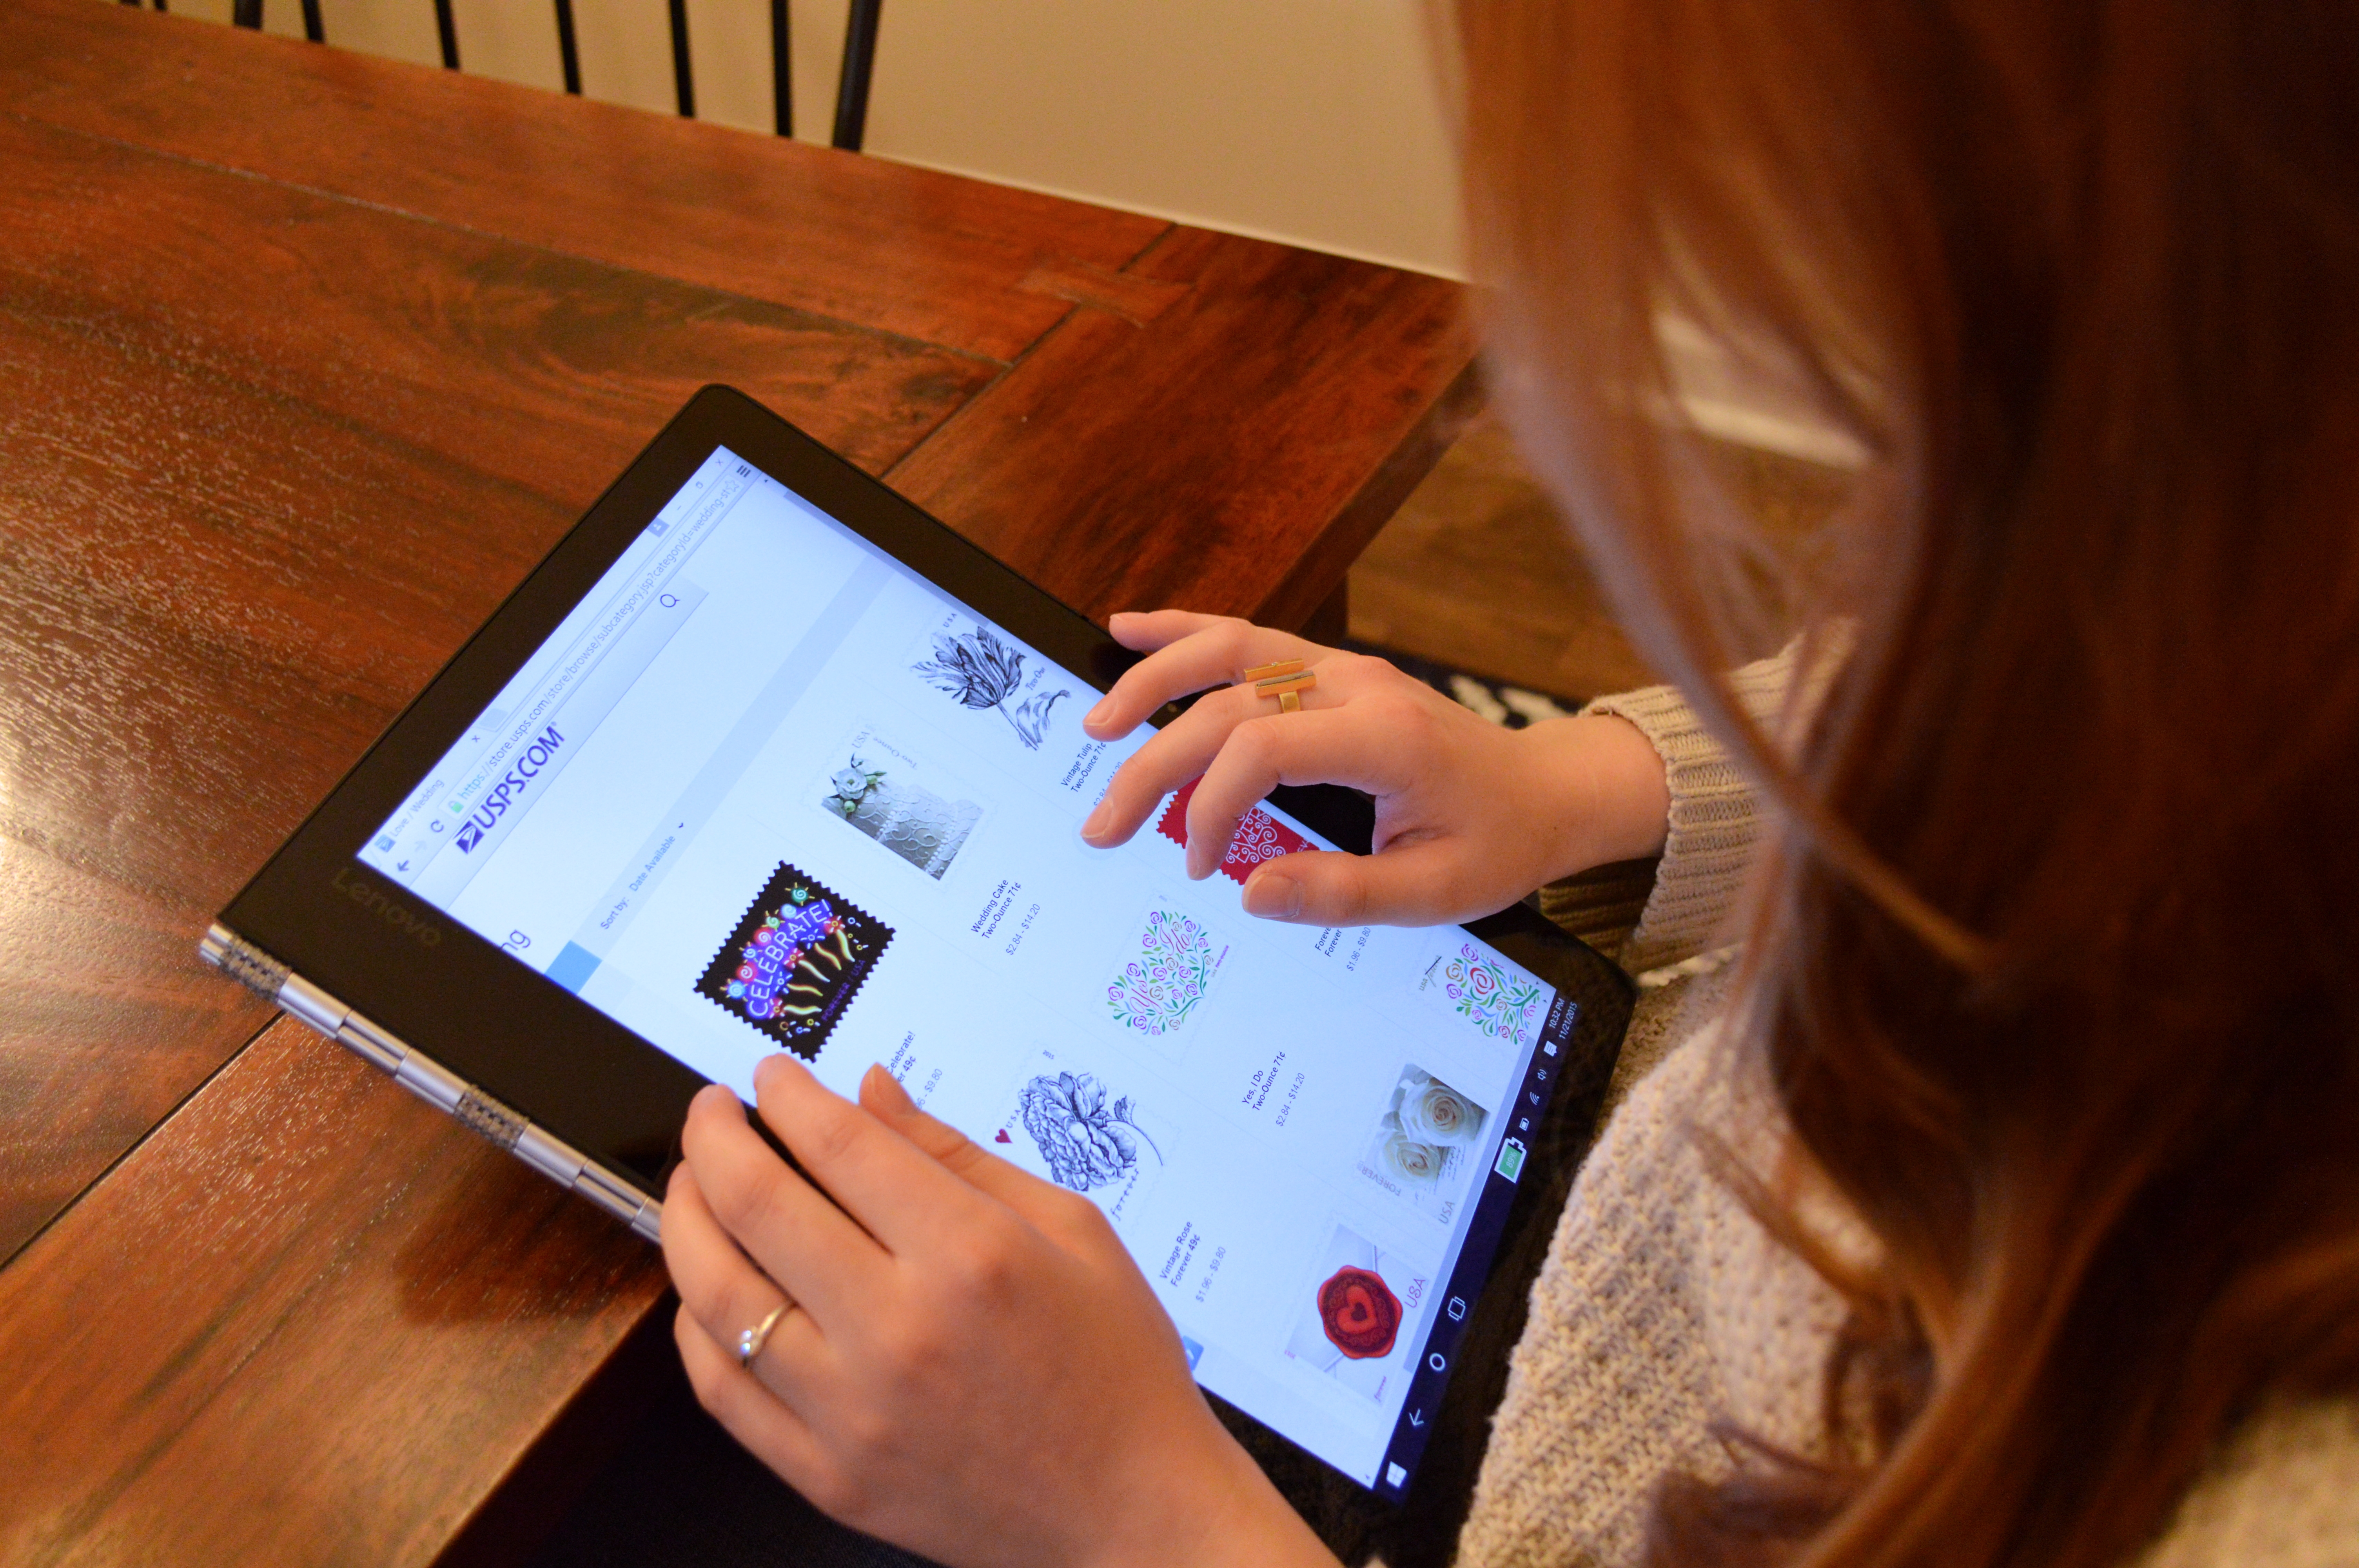
Thank you, United States Post Office, for selling lovely, wedding-themed stamps. It cracked Lance up that I thought about what stamp would look best, but it is part of the final product! I placed these bad boys on two different shades of purple envelopes from Papersource. To complete the look, I grabbed glitter envelope seals at Target.

Step No. 7: Assemble and mail!
Take an hour or so and assemble all the pieces. Throw an episode on Netflix or some tunes on Spotify and it’ll fly by. Ta-da! You have created your own save the dates.

When I started the process, I was glued to our office using the desktop computer. Not anymore! I recently started using the Intel 2in1 Lenovo Yoga 900 (sent to me by Intel) with Windows 10, which can switch between laptop mode and tablet mode with a quick bend at the hinge. It is such an upgrade, and it’s so nice being able to work from any part of the house. The virtual desktop feature keeps different programs pinned to different parts of the screen with perfect alignment, which gives it the feeling of multiple screens. Plain and simple, it’s a clean, familiar operating system for those of us who prefer Windows-based products, but with all the new features (like Cortana, a virtual assistant!) you’d want in a new product. Do I sound obsessed? That’s because I am.
What DIY projects have you tackled on your computer? Tell me about your best ones in the comments!
Disclosure | #spon: I’m required to disclose a relationship between my site and Intel. This could include Intel providing me with content, product, access, or other forms of payment.


