Oh, fidget spinners. Your 15 minutes are over, yet I’m still finding you around my house. I attended a big conference the year fidget spinners took over, which means I brought home a ton branded by exhibiting vendors.
They were fun momentarily, and my perpetually fidgeting husband still sometimes spins his around, but overall I was ready to get them out of my home. Clutter be damned right? Instead of dropping them into the donation bin, I decided to DIY them into something better: easy and affordable Lazy Susans perfect to use around the house!
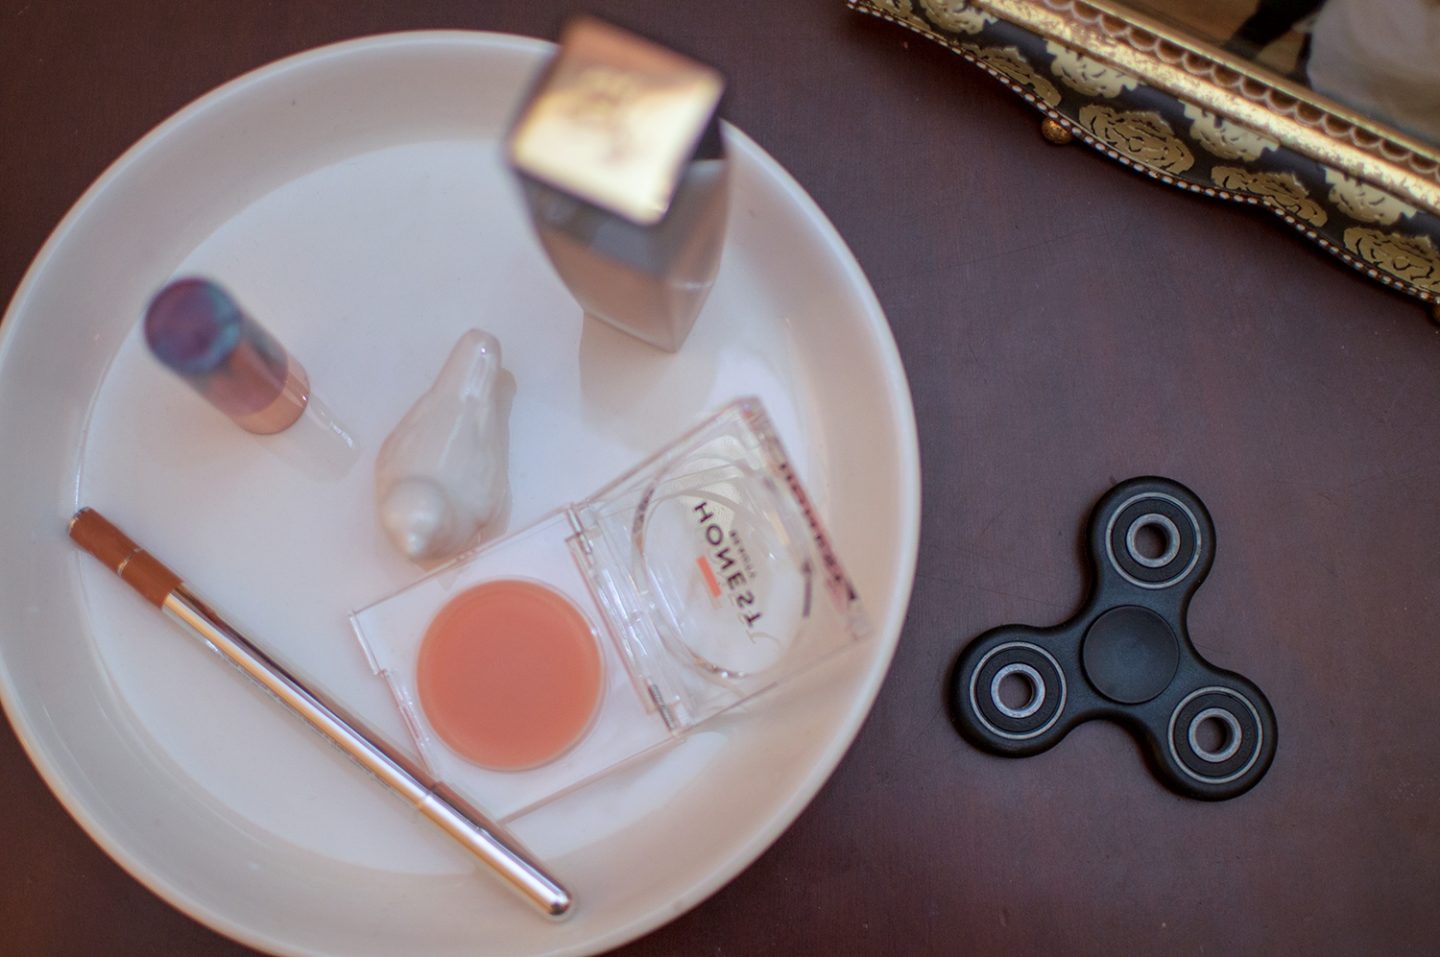
Have one (or a bucketful) sitting around, waiting to be reused? Give them a new purpose with a little glue!
DIY Lazy Susan Materials
- Fidget spinner
- Hot glue
- Felt pads
- Plate
DIY Lazy Susan Directions
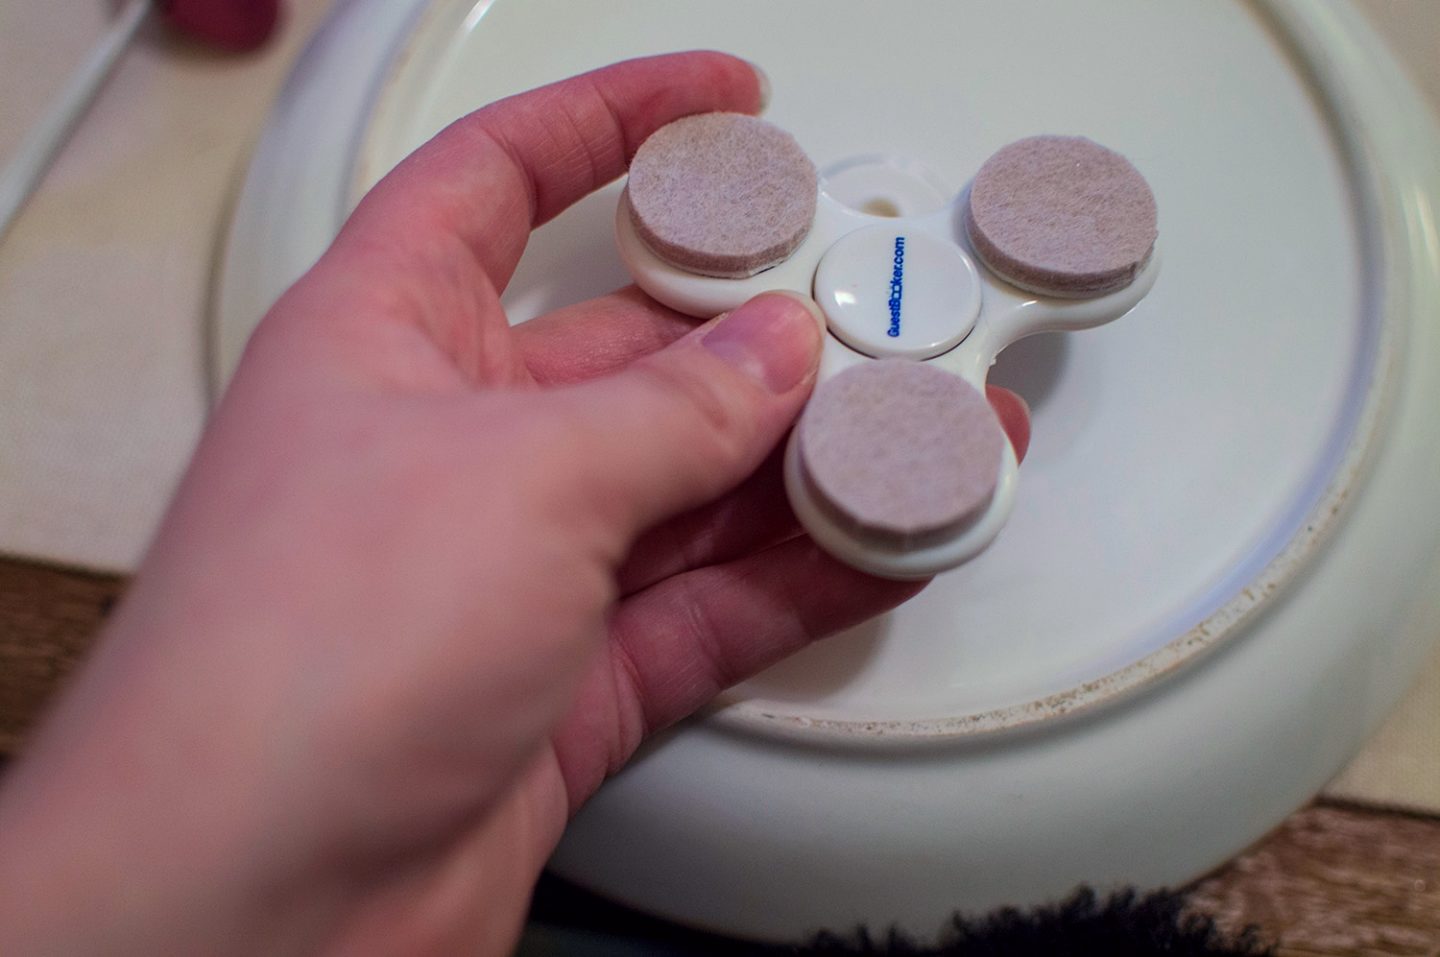
- Attach self-adhesive felt slider pads to the arms of a fidget spinner, on both the top and bottom. These will fill in the gaps between the plate and the fidget spinner to help it balance.
- Apply a generous amount of hot glue to the center disk of the fidget spinner, then stick it to the center of the bottom of your plate.
- Let it dry, then test its balance. If it leans to one side, you might have glued the fidget spinner off center. Peel it off and try again.
And what will you do with these DIY rotating trays? I found mine to be the most helpful around kitchen and beauty items. Loose tea bags on a high shelf? Too many seasonings in the cabinet? Extra makeup items rolling around on the vanity? Lazy Susan to the rescue!
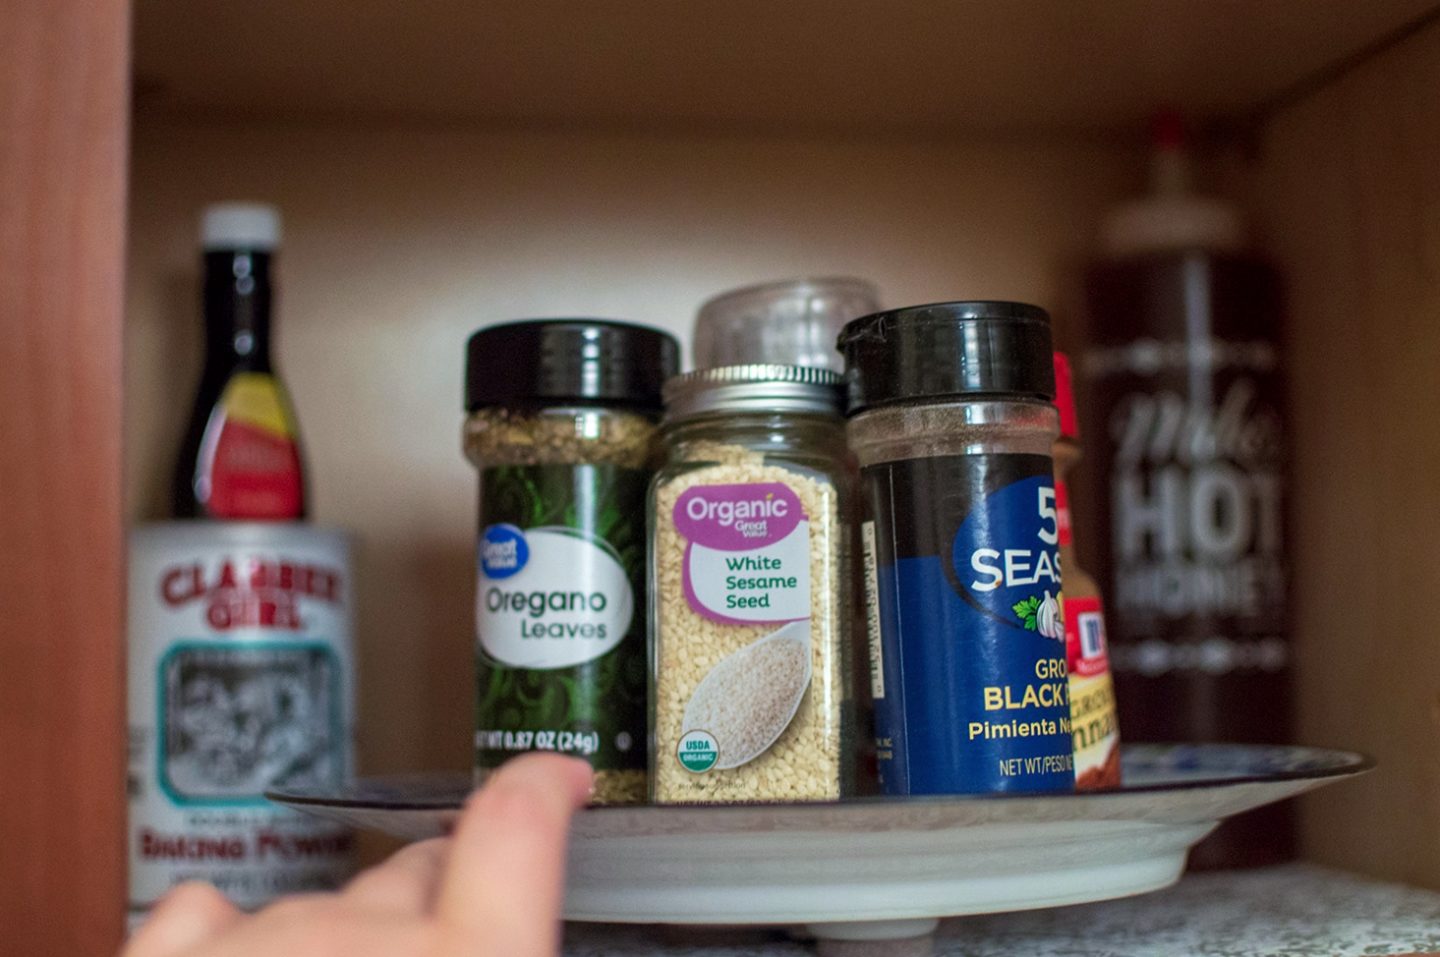
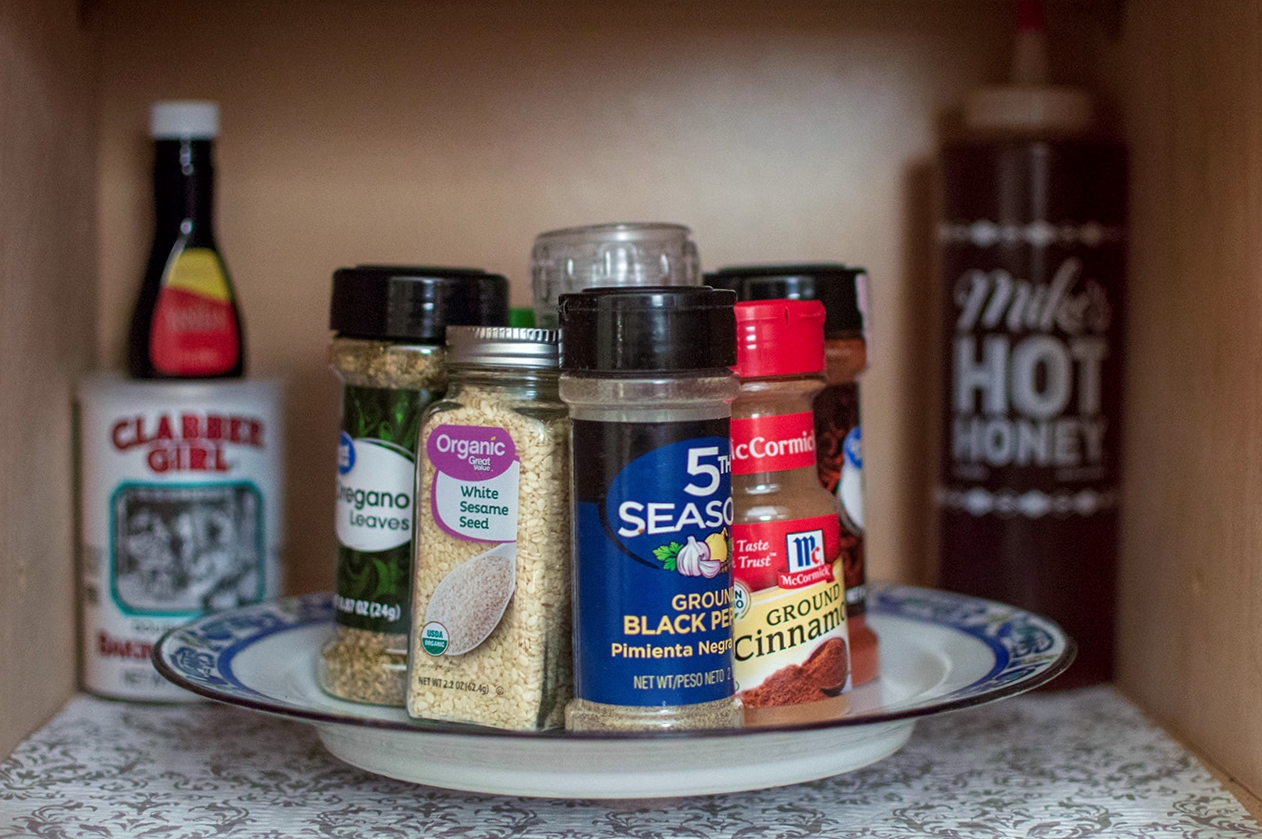
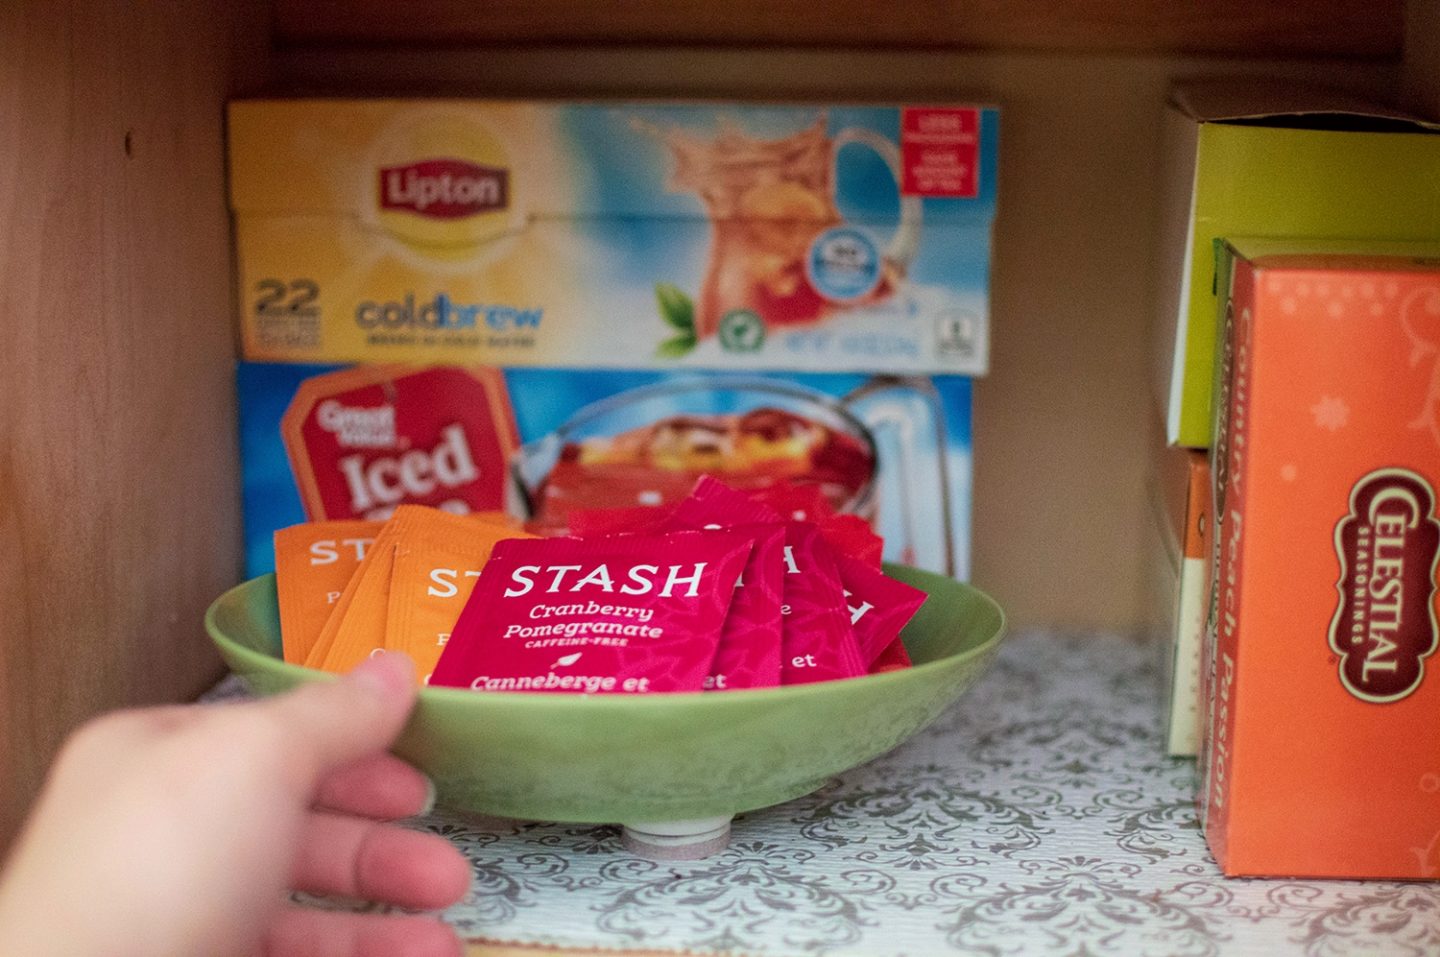
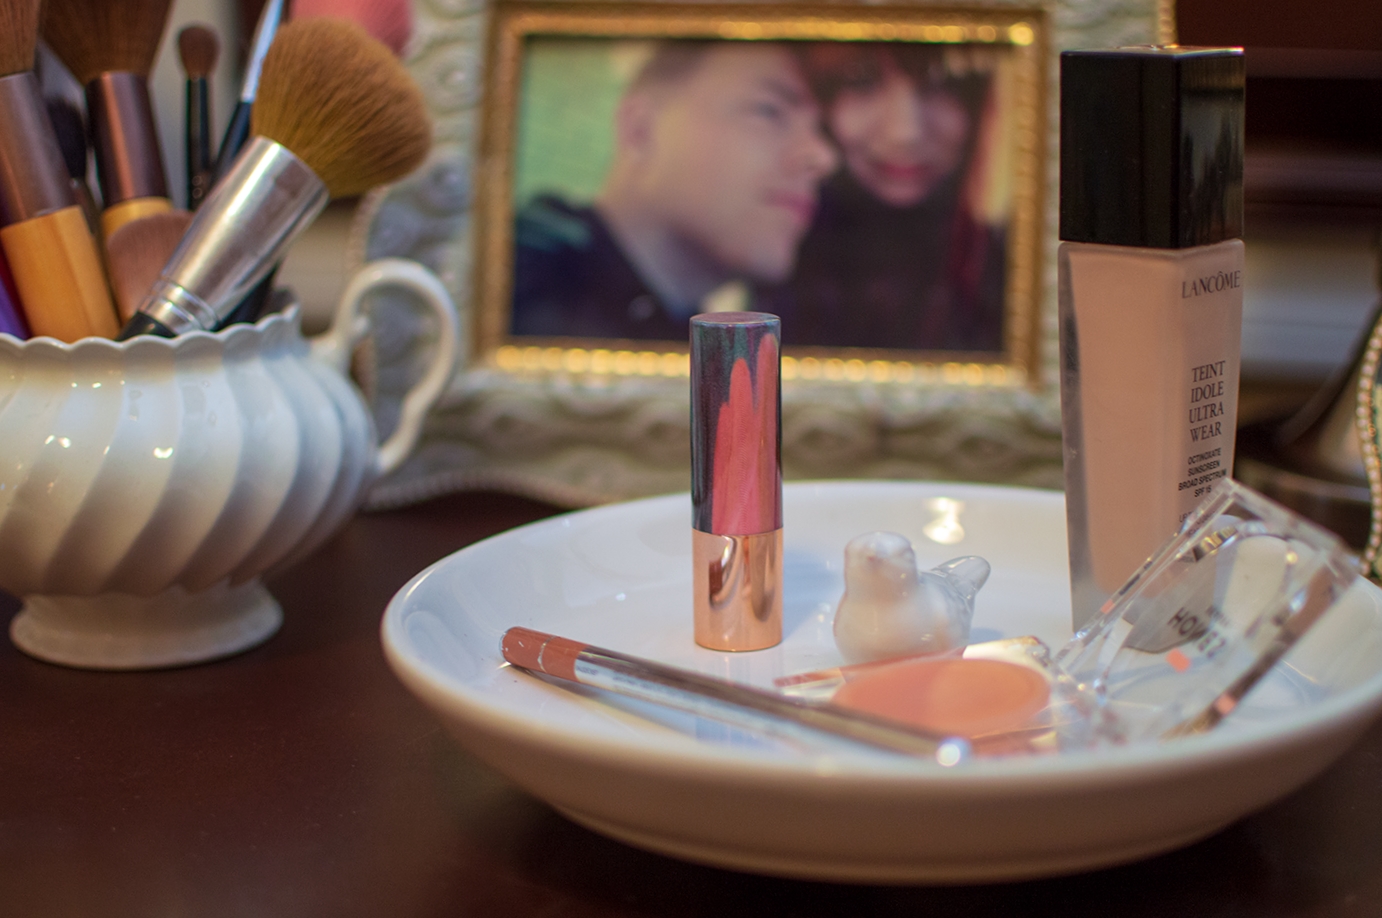
What’s better than inexpensive DIY storage solutions? Ones that actually reduce the amount of clutter in your house by reusing items you no longer want. Goodbye, fidget spinners! Hello, organized home!

That’s fantastic! I’m going to try it out!
This was a great diy. Thank you may God bless you an family
Awesome idea!! THAT is thinking outside of the box! Thank you for sharing!
Author
Thank you! If you make one, tag me on social media so I can see it too!
Thank you so much, but just to let you know, I could not access your DIY from Pinterest.