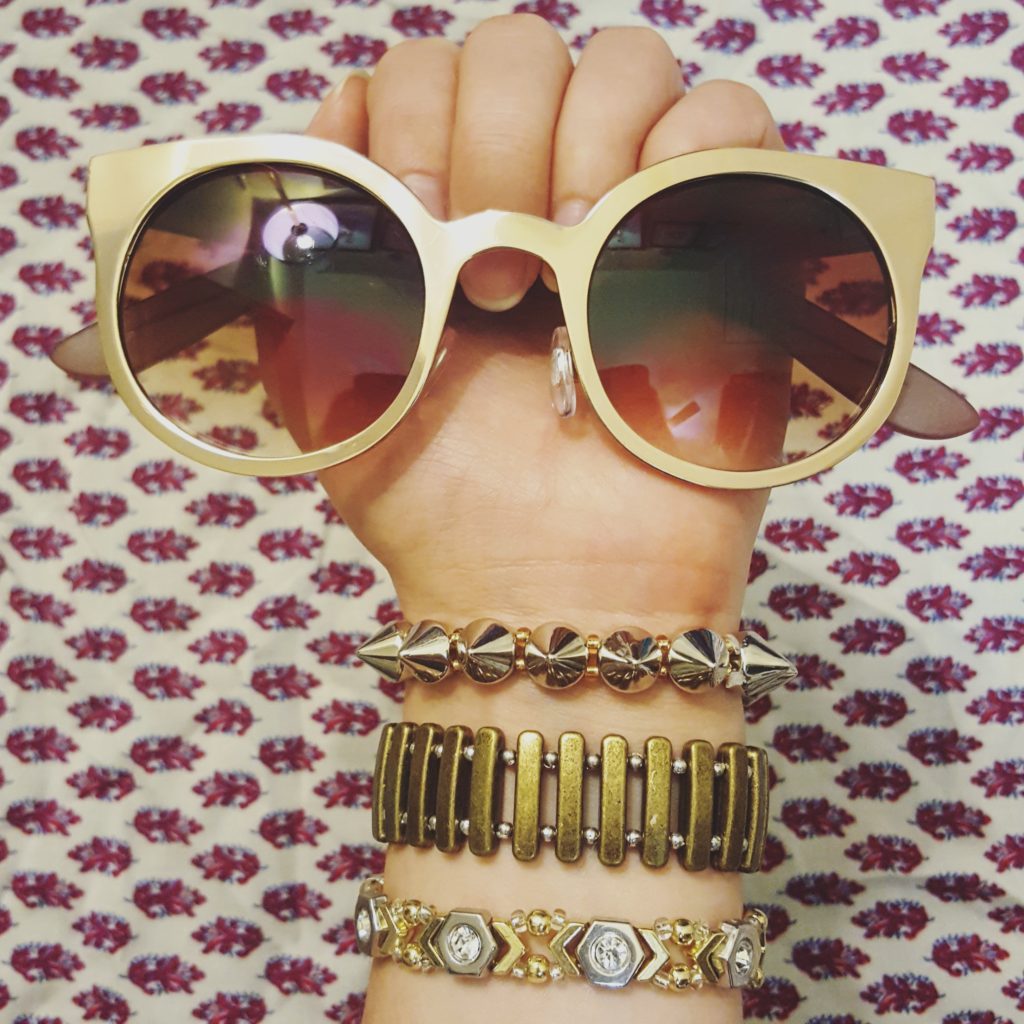
Oh boy, if you thought I did a lot of jewelry tutorials before, just wait. We were without electricity for about 15 hours yesterday, and I spent much of the air conditioning-less period crafting to keep from going crazy. Now that I have enough light to snap a photo, it’s time to start sharing the tutorials! Up first: three DIY mixed-metals stretch beaded bracelets perfect for creating your own metallic arm party.

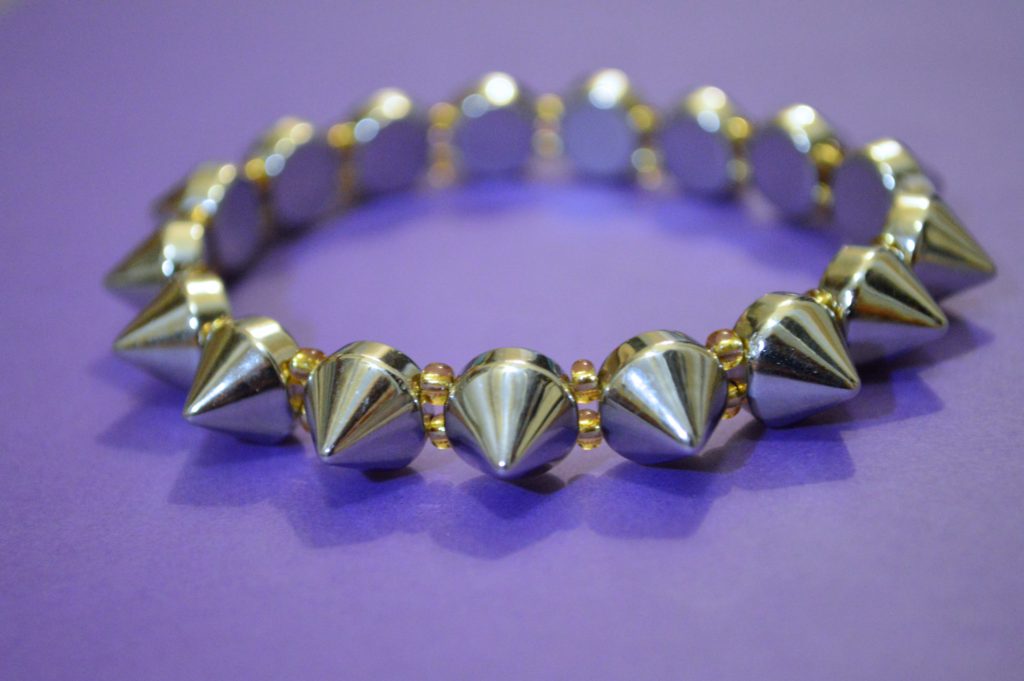
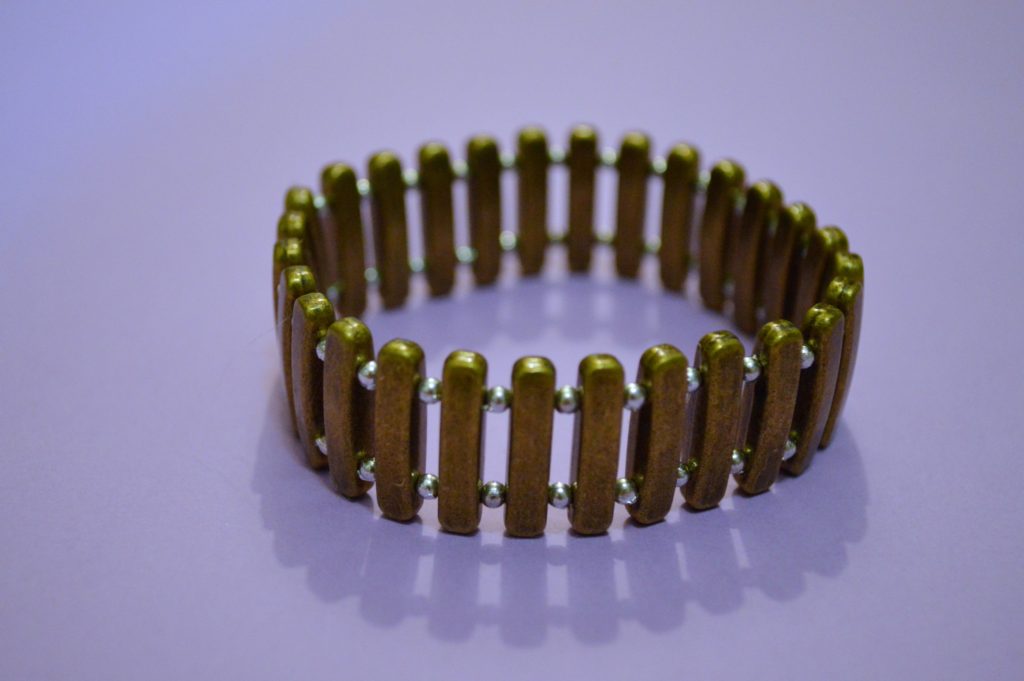
They’re a touch edgy, a tad tough, and all incredibly easy to make. In my opinion, they all work because they balance two things: statement and shine. Each features only one statement bead style and each features near-matching levels of shine. What does that mean? The top bracelet has glass gold bead between the ultra-shiny cones, while the middle has dull plastic beads between the aged-looking bars. Balanced shine makes for a cohesive finished product.
Keep scrolling to see each DIY beaded bracelet up close and find out what you’ll need to make them.
Silver Cone Stud + Gold Seed Bead Bracelet

Materials
- Silver cone two-hole beads [SIMILAR]
- Gold glass seed beads
- Stretch cord
Brass Bar + Silver Seed Bead Bracelet

Materials
- Brass rectangle two-hold spacer beads [HERE]
- Silver plastic/metal seed beads
- Stretch cord
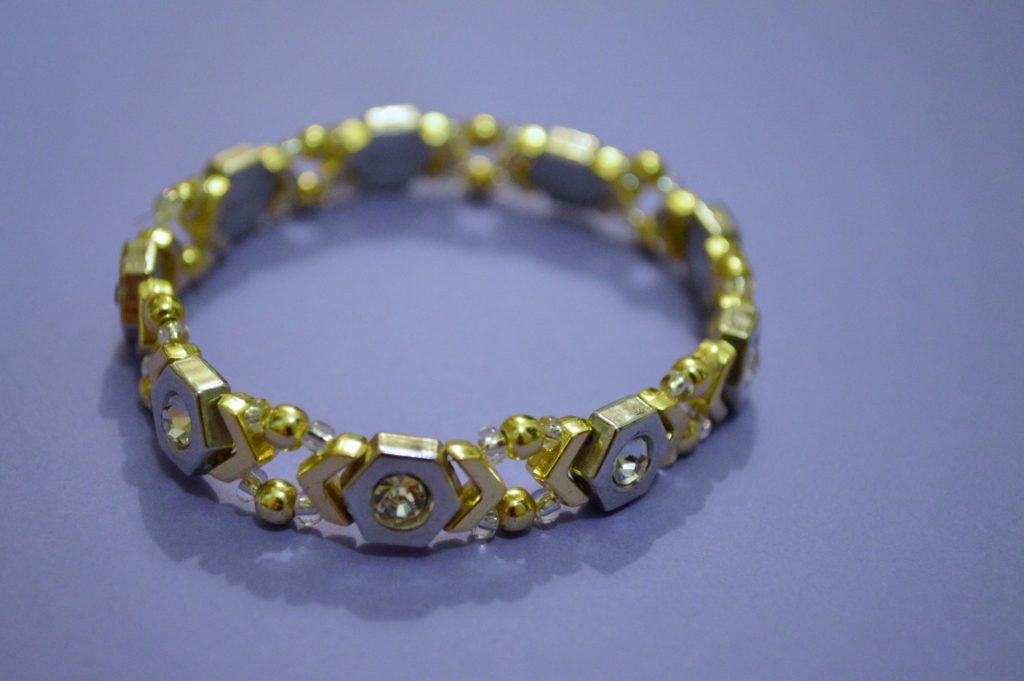
Silver Hexagon + Gold Chevon Bead Bracelet

Materials
- Silver hexagon two-hole beads [HERE]
- Gold chevron two-hold beads [SIMILAR]
- Gold spacer beads
- Clear glass seed beads
- Stretch cord
Does that last one look familiar? I already posted about the design… but I tied the clasp on wrong and broke it pretty quickly. Instead of restringing it on fishing line, I went for stretch cord. It’s just easier to wear… but also easy to screw up the knot. Don’t forget to tie your stretch cord correctly! Need a refresher? Here’s a great tutorial. Learn from my (time washing) mistakes!
Like mixing metals? Me too. Try making the DIY mixed metals steampunk necklace next!

This bracelet making DIY tutorial is so awesome. Gonna try this out.