
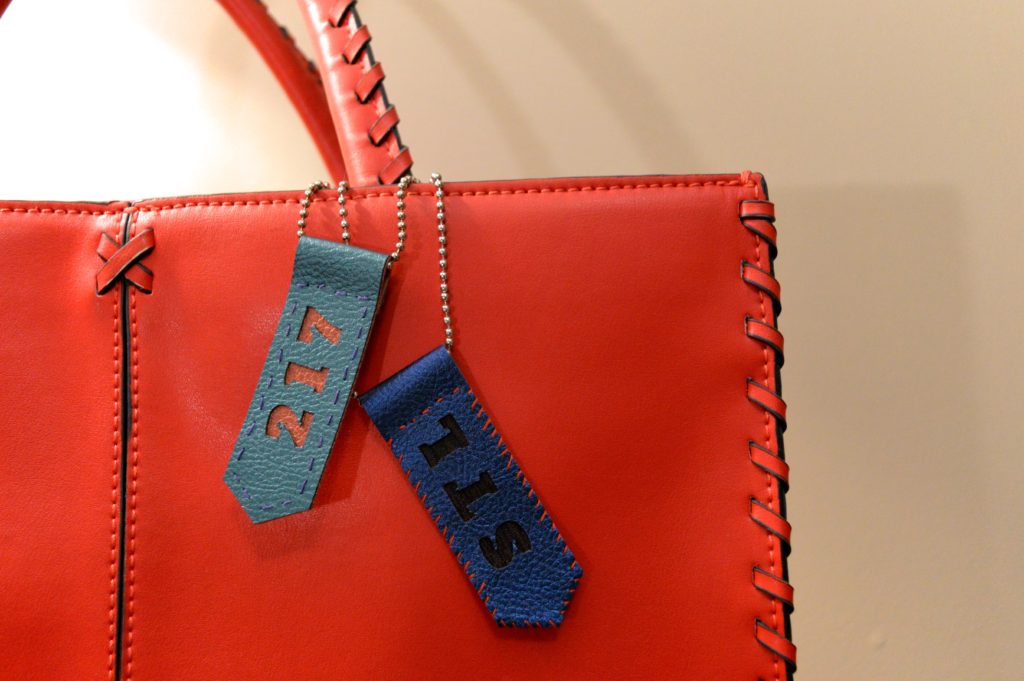
Purse charms are incredibly popular, and for good reason: they add a touch of personality to any handbag or backpack. A tassel USB charger shows you’re fun and practical, while a Fendi purse charm shows you’re… I don’t know, insane? Cruella de Vil IRL? Painfully, offensively wealthy? (Take your pick.)
If you’re looking to add some quirk to your purse without spending, say, more than you did on said handbag, try making your own using your Cricut. You can highlight your favorite location or team easily using this free method.
Materials
- Cricut
- 1 mm faux leather
- Glue
- Needle and thread
- Ball chain
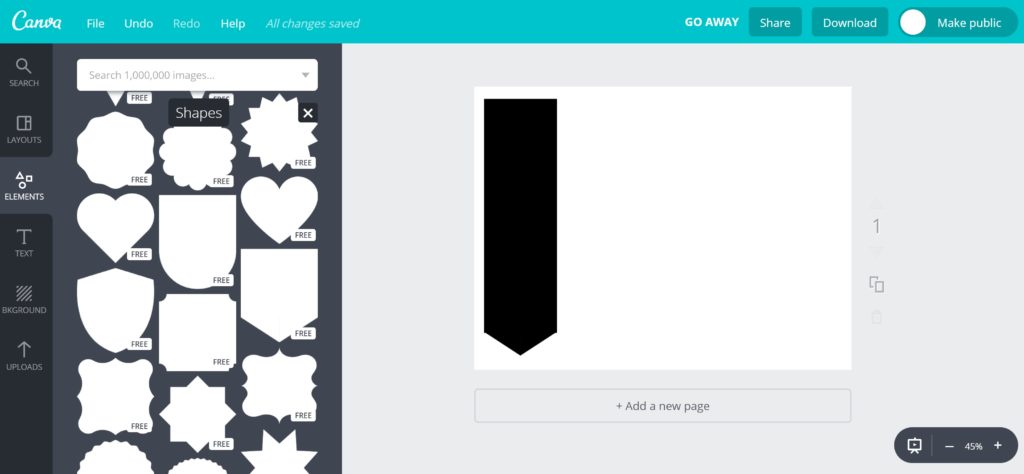
Cricut has some great pre-made designs… for a price. Head over to Canva to create your shape for free. Color and size don’t matter here since you’re just making a template – once you’re back in the Cricut Design Space, you’ll be able to enlarge or shrink your shape.
Oh, and don’t mind the “GO AWAY” in the corner of this image. I was going to make snarky purse charms but changed my mind because the text would have been really small; however, it auto-saved as my file name. Ha!
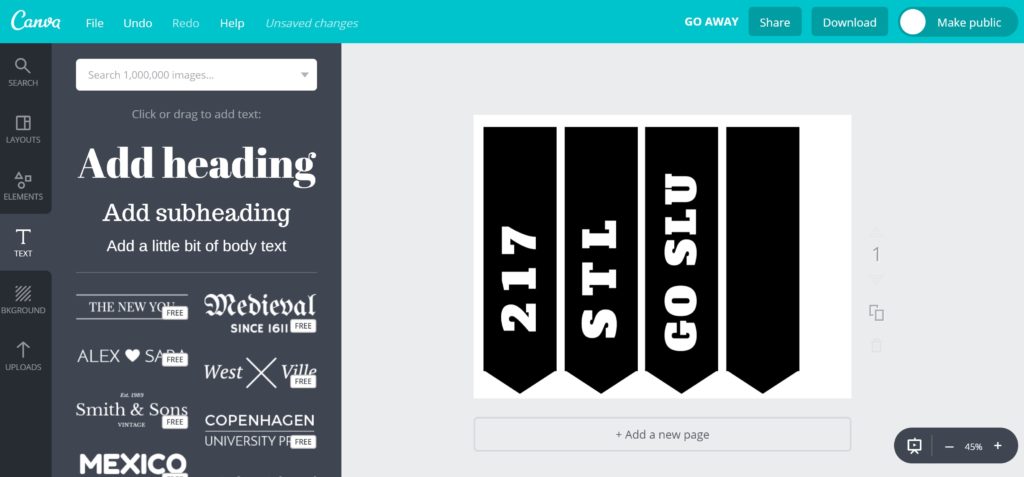
Next, add text in a contrasting color. Again, the color itself doesn’t matter because you’re designing the template, but a high-contrast hue means it will be easier to upload the cut out to Cricut. Remember to give your letters some wiggle room by adding spaces manually or adjusting letter spacing. Not sure what to write? Try an area code, a city abbreviation, or a team/university name!
You also need to add one plain shape (no text) to serve as your background.
Download your image and upload it to the Cricut Design Space. If you want to use different materials, upload the image multiple times leaving only one of the designs in the final product each time. That way, the graphics will save separately and you can cut them out solo. I cut these at 1″ wide.
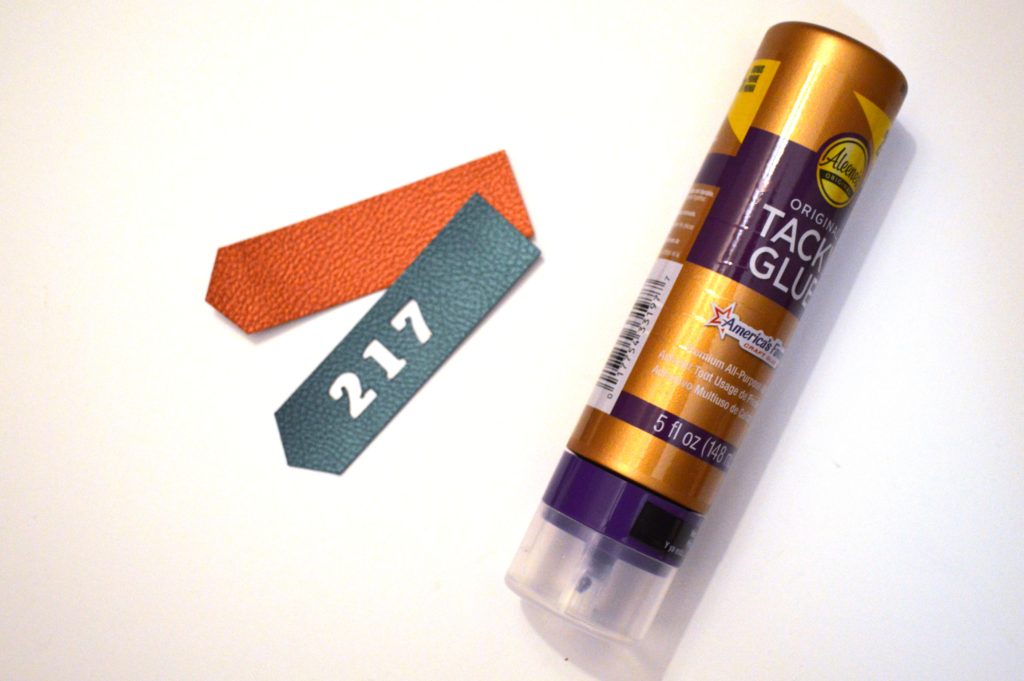
Once you have your text and background pieces cut out, dab some glue between them and stick them together. This is mainly to make the next step easier, although it can help keep the edges from popping up and catching on things.
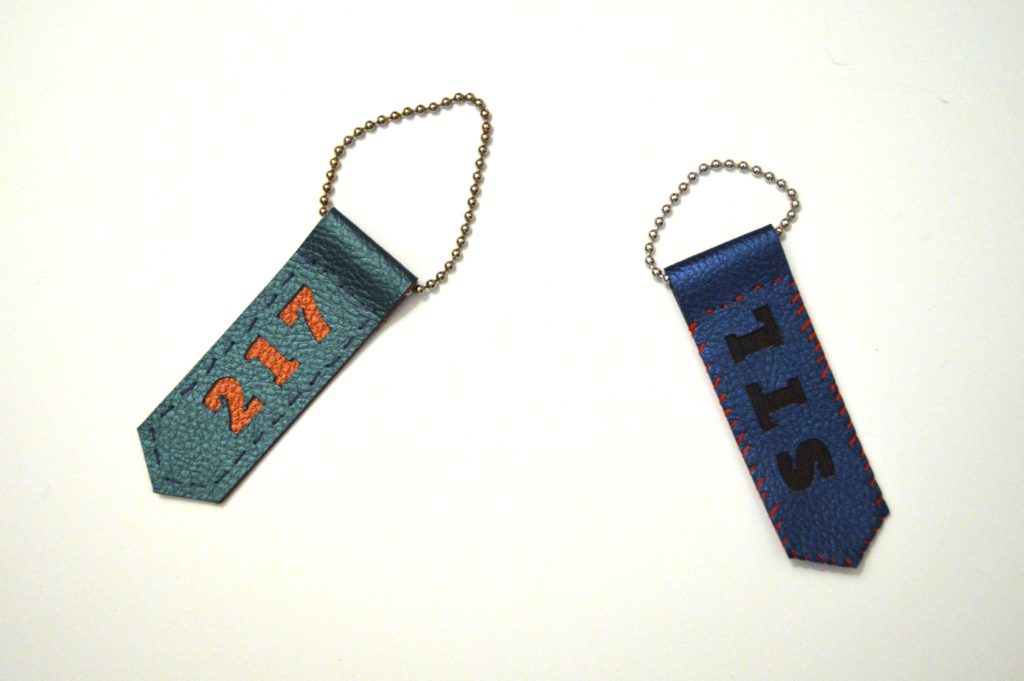
Once dry, fold the top over and stitch it down to create a tube. You can also run that stitch down the edges for added support + a decorative detail. I went with bold threads for more color. Use a thick needle, as you’ll be stitching through up to four layers of faux leather at a time. I did not use a thick needle and snapped one right before finishing. Learn from my mega-frustrating mistake.
Finally, grab a small ball chain and run it through the loop to finish up your project. That’s it! Add it to a purse or backpack and enjoy.
Feeling extra crafty? Try making my DIY Embellished Sequin Patch Pin, Designer-Inspired Faux Leather Cricut Necklace, DIY Felt Pom Pom Purse Charm, or Recycled Plastic Bag Wreath next!

I love this idea. I get leather scraps at work and this is wonderful use of them. Thanks for sharing.