With Halloween only a mere week and a half away, it’s time to really enjoy my festive-and-spooky decorations. The newest addition? A craft I was inspired to make after seeing mass-made versions in stores for up to $12 per bottle. Considering I rarely spend that much on a bottle of booze (I know, I know, here I am again, showcasing the class) I wasn’t okay with the price tag. Why buy when you can make your own?
What’s more festive than the horrible ingredients used by a Halloween witch to make potions, spells and evil brews? Even better, you can make them primarily out of things found around the house.
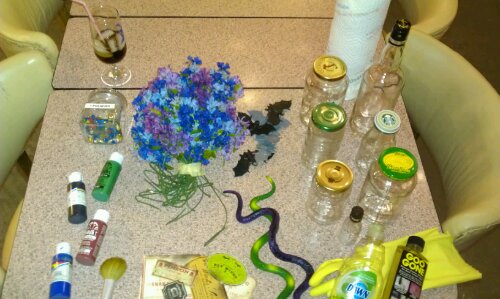
Here is what I started out with for the first wave of crafting. Making these was a three-fold process, but I’m sure you can speed it up if you want to. To make my spooky witch’s ingredients, I used clean, empty glass bottles of varying sizes (remove the labels using Goo Gone, Dawn, the dishwasher, etc.) with lids; cheap acrylic craft paint; old make-up brushes I was about to throw away (I couldn’t find paint brushes in the house… Be resourceful!); scrapbook Halloween labels; thumbtacks; spooky or nature themed small items, like bats, snakes and silk flowers; paper towels; and a cocktail, because let’s be real, crafting time and cocktail time are one in the same for me.
The Halloween labels were a lucky sale find at Michael’s, and I knew I wouldn’t be able to make my own look that good for under $3– although I’m sure it can be done! Before I began the painting process I figured out which bottle looked best with each label and if I had a coordinating filler object for said bottle.
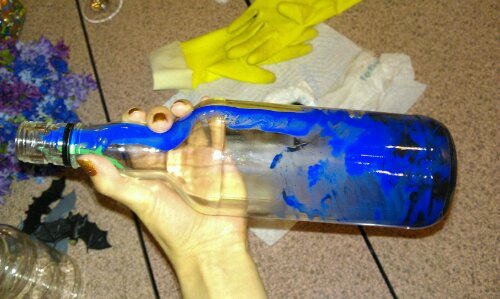
The rest of the bottles were filled with paint. I chose to use acrylic paint because I had a bunch of it that was almost entirely too clumpy and dry to use for anything else, but I’m sure most paints would do. I started by pouring paint inside the bottles and spinning it around to cover the sides. I used a few different colors on most bottles, like black and blue in this one.
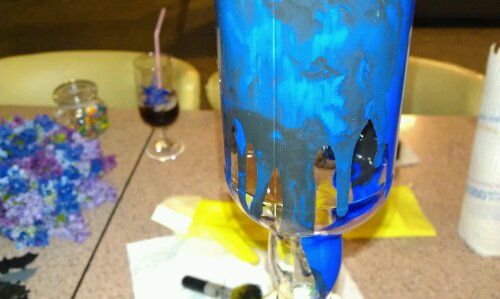
To add to the drippy, weird effect, I let the bottles dry upside-down. It helped keep the edges wavy and the look a little more… bizarre. Hell, I don’t really know now why i let them dry upside-down. Maybe it was the cocktail’s idea. Regardless, that’s what I did and I like how it looks.

I placed the caps up on thumbtacks to keep them from sticking to the paper towel and painted each one black. This concluded the first wave of crafting, as I think I got distracted by guilty-pleasure TV. Whoops.

Although not pictured, for the next crafting session I brought hair ties and hot glue. Alright, after the bottles were done drying upside-down, I hot glued the labels in place, using other bottles as a way to push the label in place. I was determined to not burn myself this time, unlike most other craft times, and I think I succeeded. After the label was in place I ran a thin line of hot glue around the edges for support and consistency.

To keep them from peeling up while drying, I wrapped each bottle and label with hair ties and let them sit overnight. End of wave two.
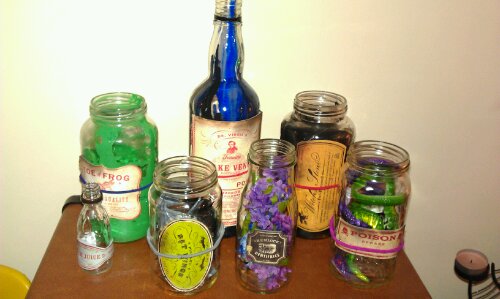
At the start of wave three, this is what the bottles looked like. I thought about stopping here, but I thought they looked too… I don’t know, clean? They were missing something.
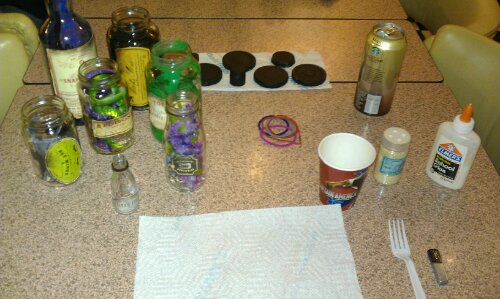
For the final steps, I gathered the bottles, the lids, a small cup of water, Elmer’s glue, chunky white glitter, another ready-to-be-thrown-away make-up brush, a plastic fork, a paper cup, paper towels and some coffee, aka the only beverage better for crafting than a cocktail.

To make my ‘glaze’, I mixed roughly one part water, one part glue and one part glitter. I stirred it up in the paper cup with the plastic fork (you do not want sightly damp, slightly sticky glitter getting in your house… Use disposable items…) until it was a milky color. Gross, but whatever, this is Halloween, after all. There are grosser things than glue-glitter ‘milk’.

Then, I painted the glitter glue on the bottles and let it dry for 24 hours. And yes, in case you were wondering, this is the brush that came with my Covergirl blush. It’s useless for applying make-up but pretty good with glue-glitter ‘milk’.
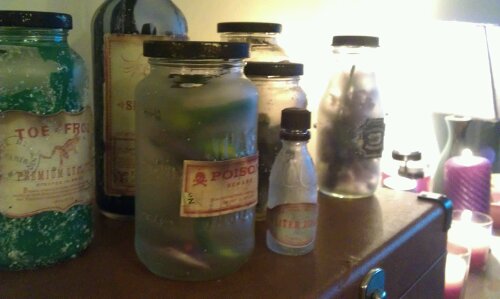
And taaaa-daaaa! It’s slightly textured, slightly sparkly, old-looking witch’s ingredients that make good, cheap Halloween decorations.
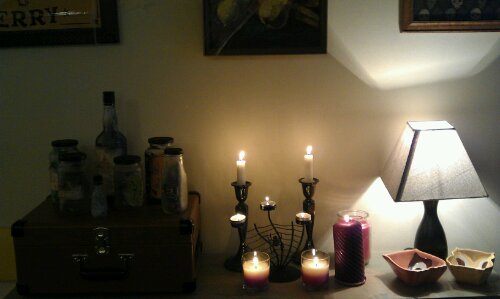
Here’s a little tidbit of my Halloween decor. This is the console near our kitchen table, and I change out its decor for Holidays and seasons. I think the bottles look great mixed in!
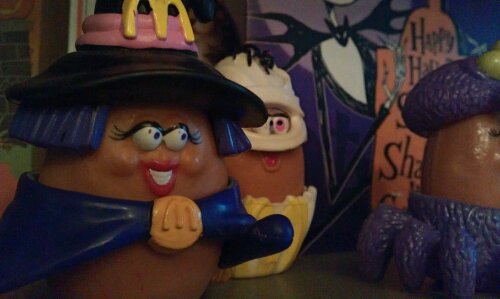
Despite the fact that I don’t like the taste of McDonald’s McNuggets, I still love my collection of Halloween McNuggest Happy Meal toys from the 1990s. They’re hilariously cute, and are half the reason I pull out my Halloween decor each year.
Full pictures of Halloween decorations soon. If I post it here, I have to do it, right? Right.


2 Comments